When a garage door opener is not working, check four things in order: power at the outlet, the lock button on your wall control, the two safety sensor lights, and the emergency release on the trolley. Those four are the free checks in both Chamberlain’s and Genie’s own guides.
Your opener usually tells you which one it is. A garage door opener not working with a blink or a hum is a different job from one that does nothing, so watch its lights and listen to the motor when you press the button.
I read the label before I touch any machine, and an opener is no different. The model sticker and the color of the learn button tell you which instructions apply to you.
What the opener does when you press the button
Start at the wall control, not the remote. Press it once, then watch the opener’s light and listen for the motor. The table matches what you see to your first check.
| What happens | What it usually means | Check first |
|---|---|---|
| Nothing: no light, no sound | No power reaching the opener | Outlet, plug, breaker |
| Wall button works, remotes don’t, lights flash twice | The LOCK feature is on | Press LOCK on the wall control |
| Door starts down, goes back up, lights flash 10 times | Safety sensors blocked or out of line | Sensor lights and lenses |
| Motor runs, chain or belt moves, door doesn’t | The trolley is disconnected | Emergency release |
| Hums a few seconds, then quits | The door itself is stuck or too heavy | Balance test by hand |
| Hums or grinds even with the door disconnected | Stripped gears, a broken sprocket or a coupler | Unplug and look inside the cover |
The flash counts are Chamberlain’s. They apply to Chamberlain and LiftMaster openers.
Genie and other brands use their own lights, so the notes below tell you where they differ.
Start with power and the lock
If your opener shows no light and makes no sound, it isn’t getting power. These checks are free.
- Unplug the opener and plug a lamp into the same outlet. Genie’s guide uses this test. If the lamp stays dark, check the breaker or fuse for that circuit.
- If the lamp works, plug the opener back in and press the wall control again.
- Look at your wall control. On a Chamberlain or LiftMaster, lights that flash twice mean the LOCK button is on. Press LOCK once, and the light flashes two more times to confirm it’s off.
- On a Genie, look for the Sure-Lock switch, which Genie also calls the vacation lock. Slide it to the open position.
LOCK and Sure-Lock do the same job. Your remotes and keypad stop working while the wall button still runs the door. That’s why a locked opener looks like a dead remote.
When the wall control is dead too
If your remotes work and the wall button doesn’t, you’re looking at the button or its two thin wires. Chamberlain says those wires are low voltage and pose no risk of shock.
Take the control off the wall. Pull the two wires off its terminals and touch the bare ends together.
If the opener runs, you need a new control. If it doesn’t, the wires are next. Genie points to staples that cut the insulation and short the pair.
There’s one exception. Chamberlain says this wire test doesn’t work on Security+ 2.0 openers, the ones with a yellow learn button. On those, a control whose light is on but does nothing gets replaced.
The wall button works but the remotes don’t
Once you’ve ruled out the lock, a dead remote is usually a battery or lost programming. Genie’s remotes mostly take a CR2032 coin cell. The GITR-3BX takes a 12-volt A23.
Did every remote and your keypad quit at the same moment? Genie says that points to the opener’s circuit board, not the remotes. One remote failing on its own is just that remote.
Short range is a different clue. Genie says common LED and CFL bulbs in the opener can put out interference that cuts your remote’s range. Take the bulb out and test again from the driveway.
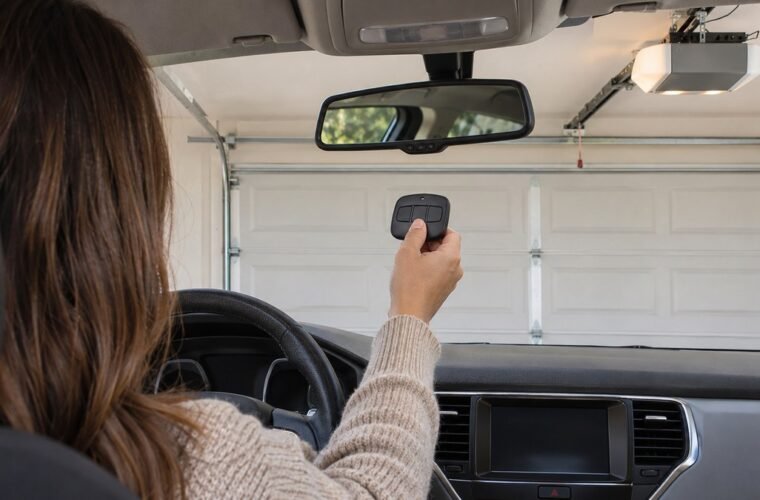
If a fresh battery doesn’t wake the remote, pair it again. You’ll find step-by-step guides by learn-button color for LiftMaster openers, by remote model for Chamberlain openers, and Intellicode steps for Genie openers.
Lights flash and the door won’t close
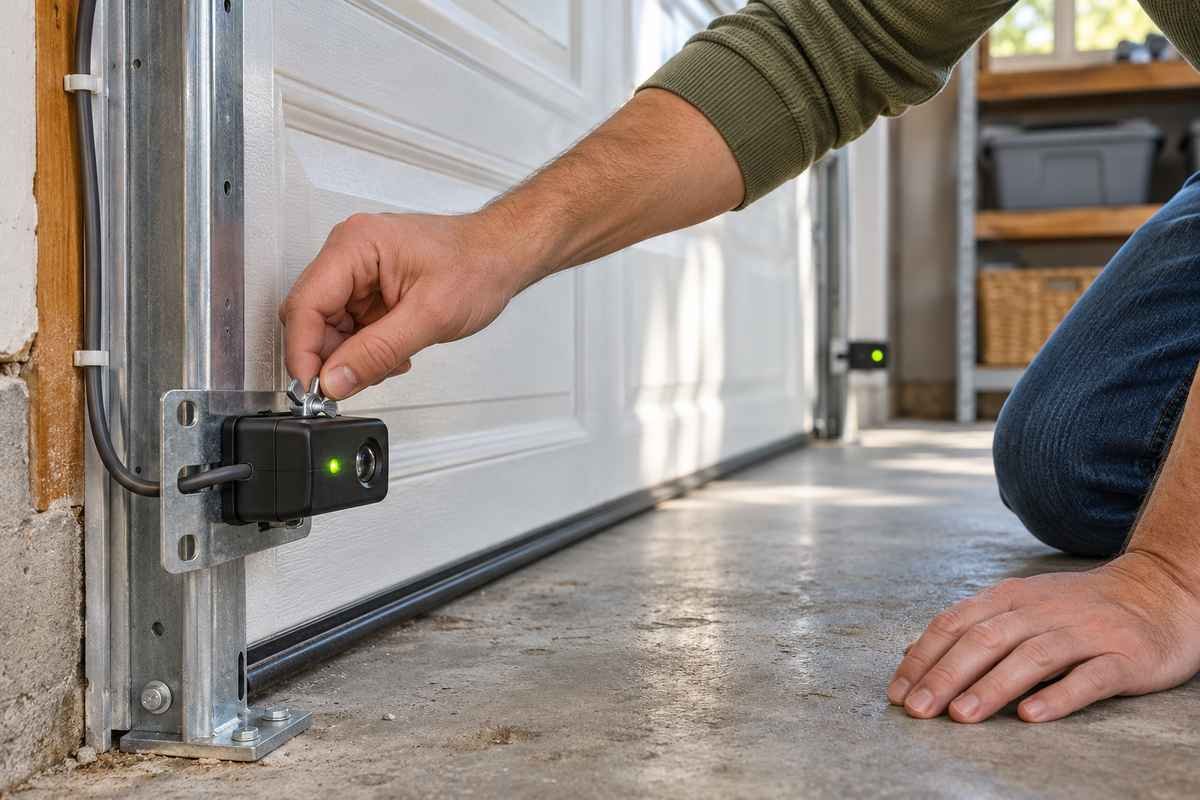
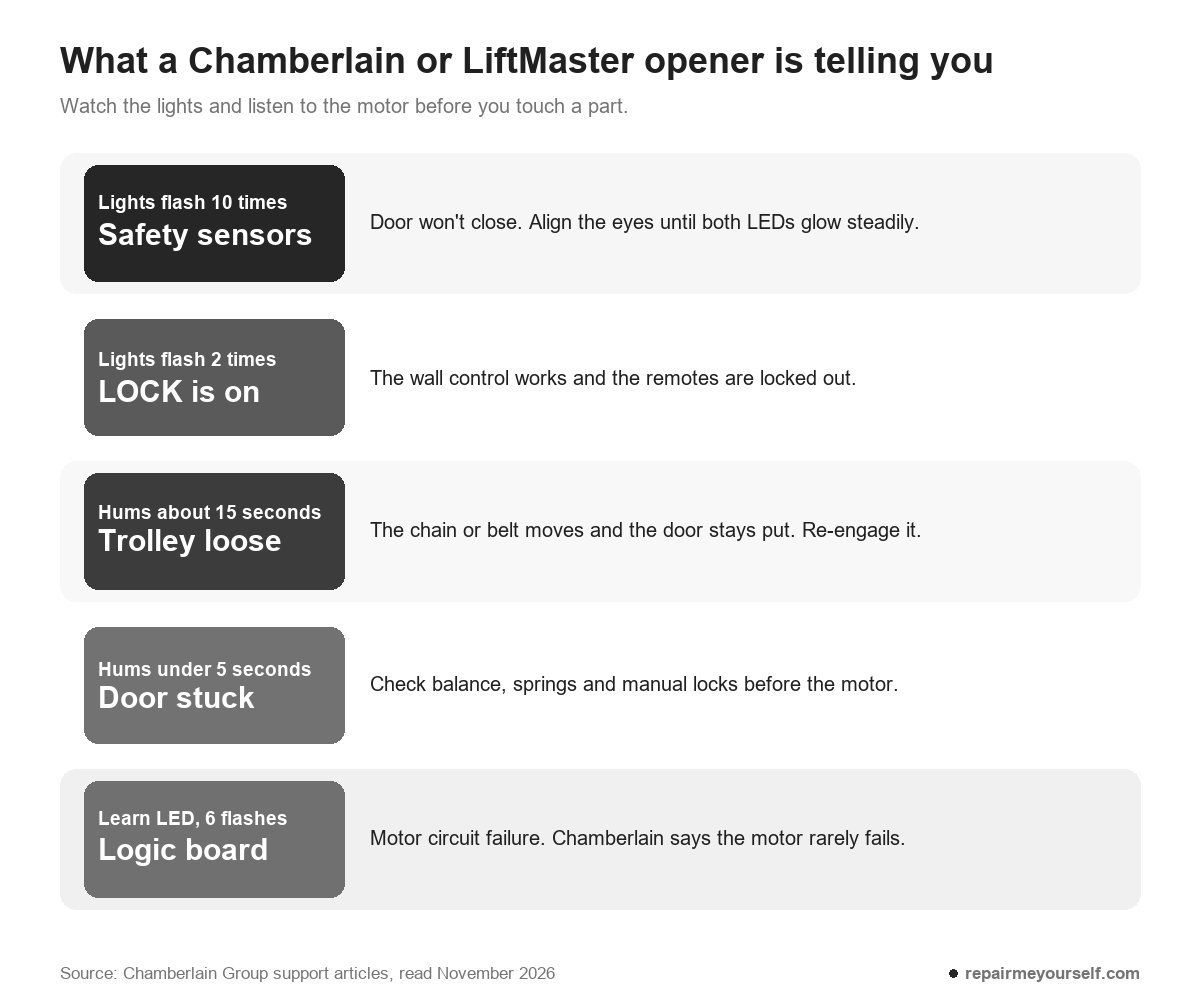
When your door starts down, reverses and leaves the opener lights blinking, look at the safety sensors first. Chamberlain says the main lights flash 10 times when a sensor problem stops the door.
The two sensors sit on each side of the door, no higher than 6 inches off the floor. Each has a small LED. You want both glowing steadily.
- Clear anything in the beam’s path. A broom handle, a ball or a leaf is enough to block it.
- Wipe both lenses with a soft cloth.
- Loosen the wing nut on the sensor whose light is off or blinking.
- Turn it until the lenses point straight at each other and the LED glows steadily. Tighten the nut.
- Close the door with your remote to test it.
Bright sun can fake a blocked beam. Chamberlain says sunlight shining into the receiving sensor, the one with the green LED, can drown out the infrared beam from the sending eye with the amber LED.
What the learn LED adds
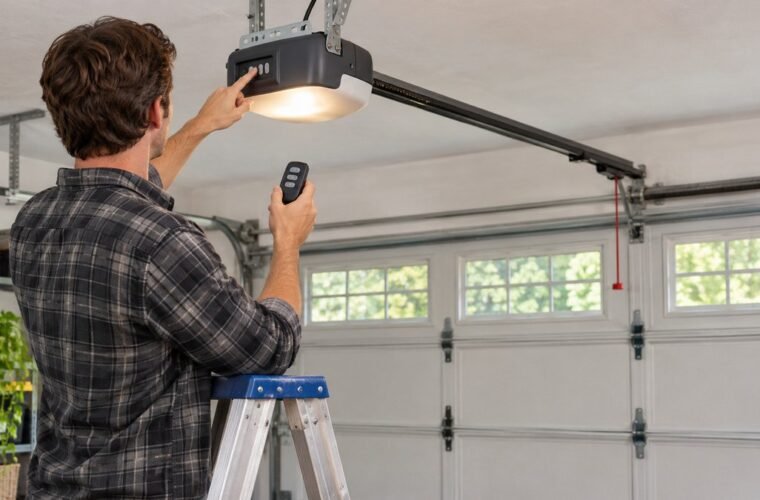
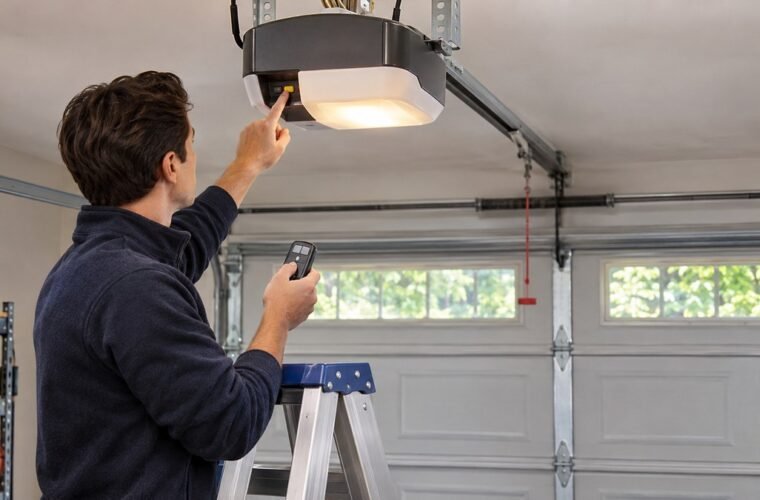
Many Chamberlain openers also blink an LED next to the learn button, then pause and repeat. It’s up on the motor unit, so bring a step ladder. For sensor faults, the count narrows it down:
- One flash: a broken or disconnected wire to a sensor.
- Two flashes: a shorted sensor wire, or the black and white wires reversed.
- Four flashes: the sending light is steady and the receiving light is dim or flashing, so the pair is slightly out of line.
Chamberlain’s learn button LED chart lists the rest, including 3 flashes for a door control fault.
Closing the door with a bad sensor
On older Chamberlain openers, you can close the door by pressing and holding the wall control push bar until it’s all the way down. Genie gives you the same tip for its wall console.
Chamberlain says openers and replacement logic boards made after February 3, 2022, no longer do this. On a newer unit, you have to fix the sensors before the door will close under power.
Don’t unhook or tape over the sensors to get around them. They’re what stops the door on a child or a pet.
The motor runs or hums and the door stays put
Before you price a new opener, find out whether the door is your problem. Chamberlain times the hum to narrow it down.
- Runs about 15 seconds, chain or belt moving: the trolley is disconnected from the door.
- Hums less than 5 seconds, then stops: something is holding the door. Chamberlain lists the door’s balance, a broken spring, a manual lock still engaged and the trolley jammed against the stop bolt.
- Hums up to 30 seconds: a broken chain or belt sprocket, or stripped gears.
The way to tell door from opener is to take the opener out of it. One commenter in r/GarageDoorService asked a poster the right question: “does it run when the door is not attached?”
The balance test
Close the door. Pull the emergency release cord so the door is free of the opener, then lift it by hand.
Chamberlain’s test is to raise it 3 to 4 feet off the floor and let go. If it slams to the floor, or you find it hard to lift and lower, Chamberlain sends you to a trained door technician.
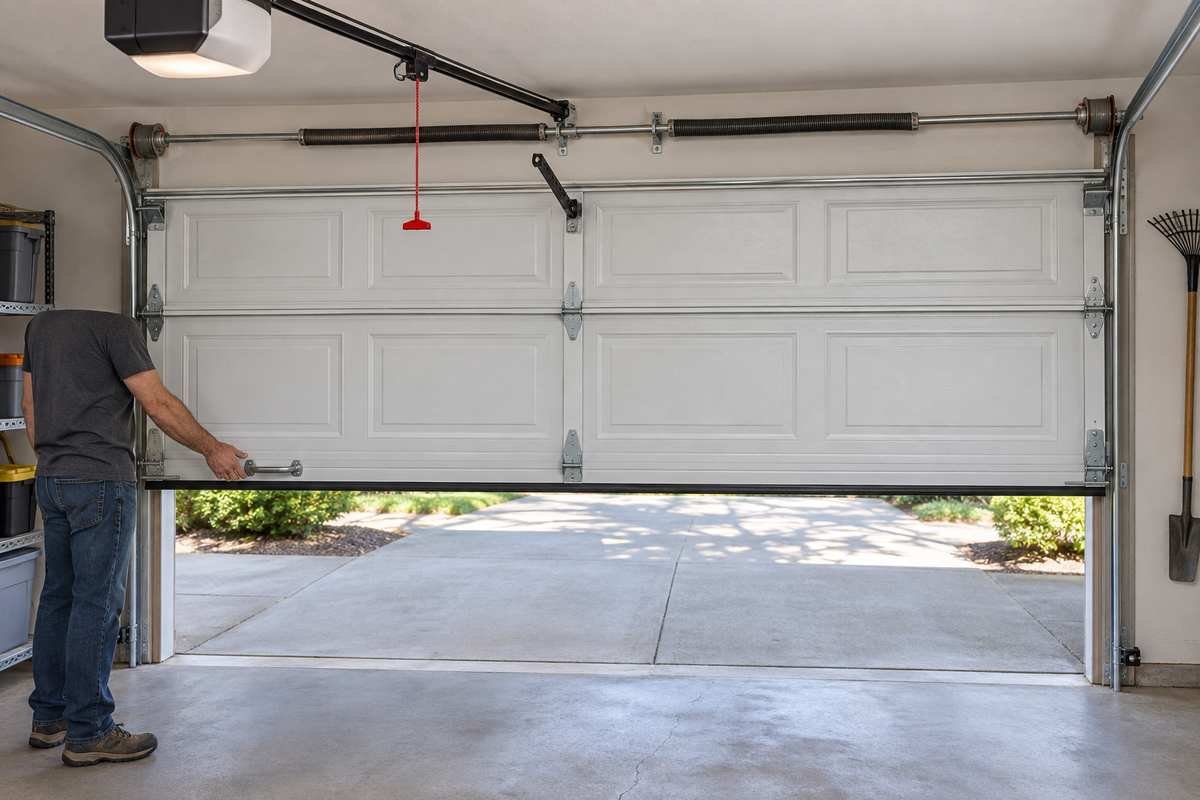
If you can’t lift the door at all, a spring is probably broken. Genie says a spring that breaks sounds like a firecracker or a gunshot.
“That door appears to be way out of balance, stop using the motor to avoid (maybe more)damage. Springs are probably old and done, those galvanized springs tend to give up and refuse to break.”
– r/GarageDoorService, October 2026 (4 upvotes)
Stop there.
Springs, cables and a door that won’t stay put are a technician’s job, not yours. Genie says not to use the door at all once a spring or cable has broken, and a garage door that’s hanging on one good spring and a tired motor is the last thing you want to keep cycling while you wait for a service call to come through.
When the door is fine and the opener isn’t
If your door passes the balance test and the opener still hums or grinds with nothing attached, the fault is inside the motor unit.
Unplug it first. I unplug any machine before a cover comes off, and you should too.
Chamberlain’s chart says white plastic shavings inside the cover mean stripped gears. A hum with good gears points to the capacitor.
Six flashes at the learn LED mean a motor circuit failure. Chamberlain’s answer is the logic board, because the motor itself rarely fails.
On a Genie screw drive, Genie says a motor that runs while the screw inside the rail doesn’t turn needs a new coupler.
The door stops short or reverses on the floor
Does your door stop a foot from the top, or touch the floor and bounce back up? The travel limits are a likely suspect. Genie says limits set too high make the opener treat the floor as an obstruction.
How you set them depends on your opener’s age. Chamberlain says units made before 2011 use adjustment screws on the side. Newer ones use UP and DOWN arrow buttons, and your manual has the exact steps.
Two rules come with it. Chamberlain says never raise the force setting to push a binding or sticking door.
After any adjustment, your door must reverse when it hits a 1-1/2 inch object or a 2×4 laid flat on the floor. Chamberlain wants you to run that test every month.
In a power outage, use the emergency release
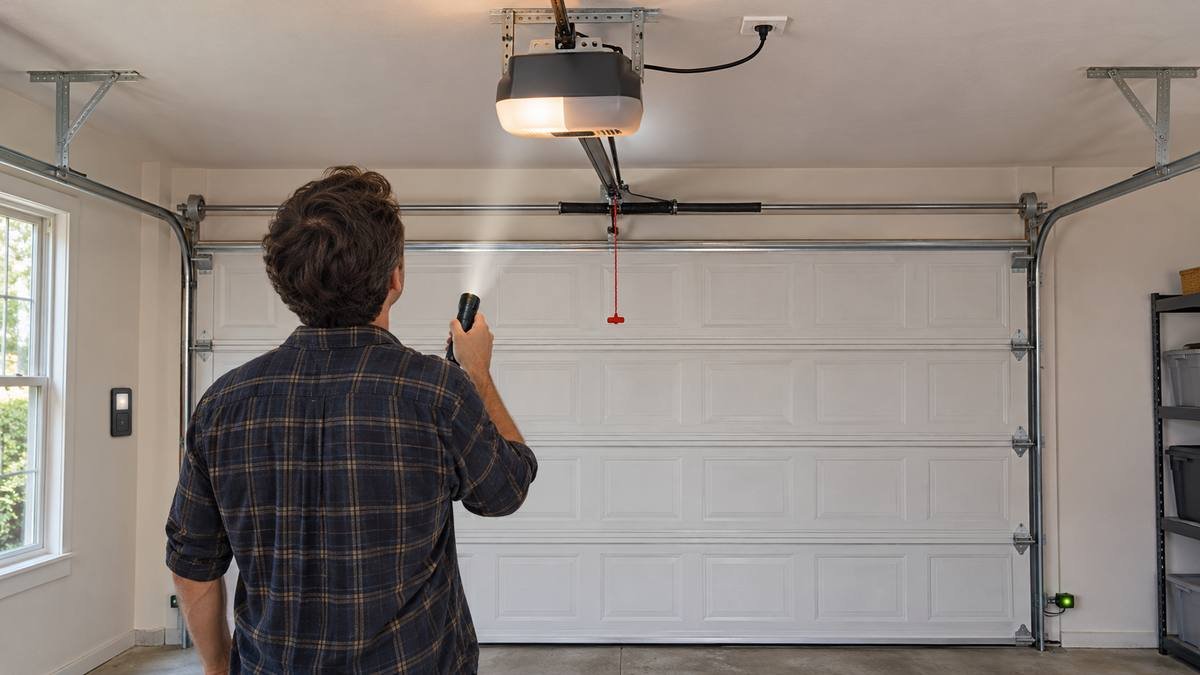
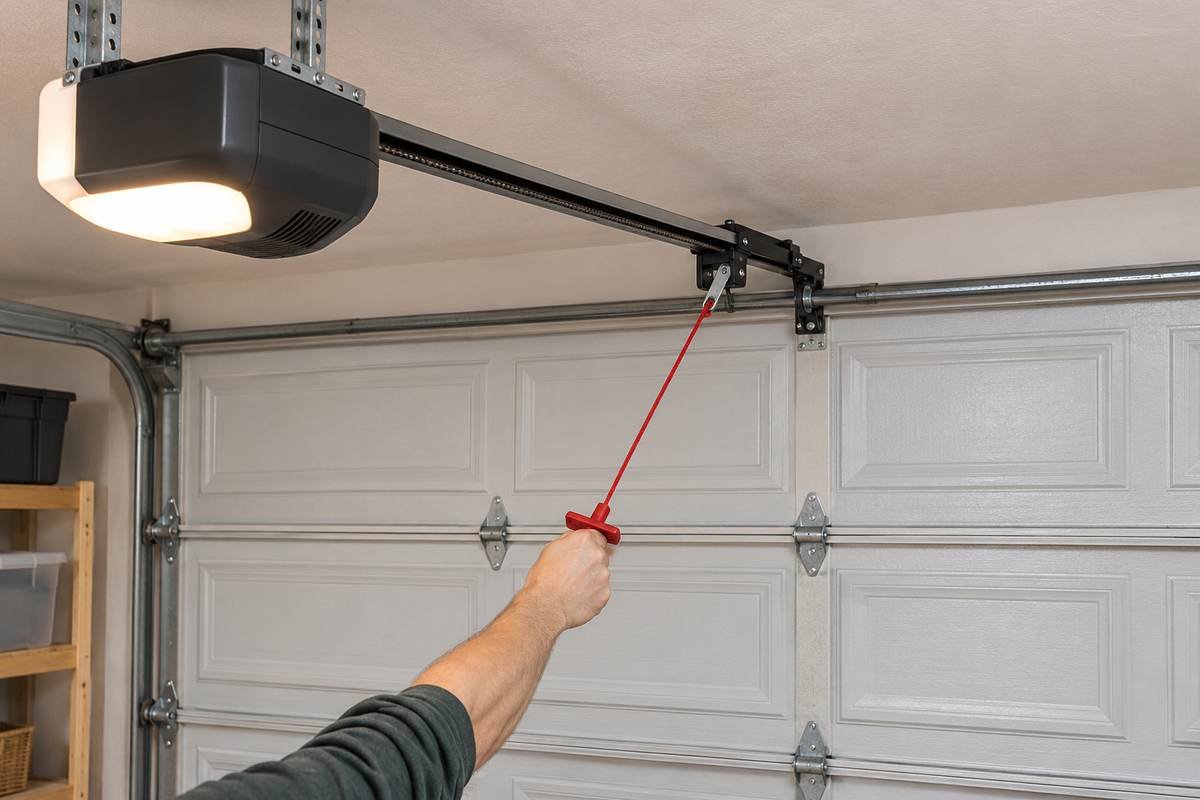
With the power out, the red cord hanging from the trolley lets you open the door by hand. Genie says that’s what it’s for: getting you out of the garage in an outage.
Once the power’s back, the opener has to pick up the door again. Genie’s steps are to close the door by hand, pull the cord toward the door and away from the motor, and listen for a click. Then press your remote.
If the outage ran long, your fridge has been off too. Our power outage food safety checker tells you what to keep and what to throw out.
Garage door opener not working: quick answers
Is there a reset button on a garage door opener?
Chamberlain’s support pages don’t send you to a reset button. Its fix for a flashing error code on an opener that otherwise runs is to unplug it for 5 seconds, then plug it back in.
Does unplugging the opener fix it?
It clears an error code. It won’t fix a stuck door, a bad sensor or stripped gears. If the same flashes come back, count them and go to the matching section.
Why won’t the door open with the wall switch or the remote?
When neither one works, start with power: the lamp test at the outlet, then the breaker. Next, check whether the trolley was released, because the motor will run and your door won’t follow. Genie’s troubleshooting table lists the same order for its openers.