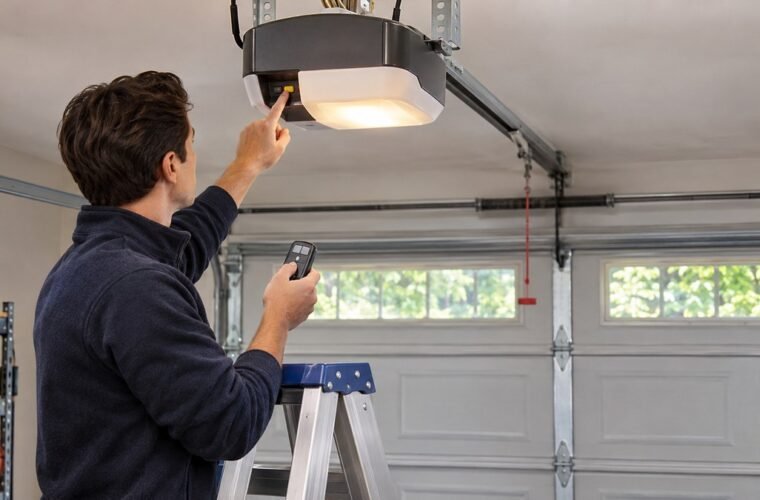
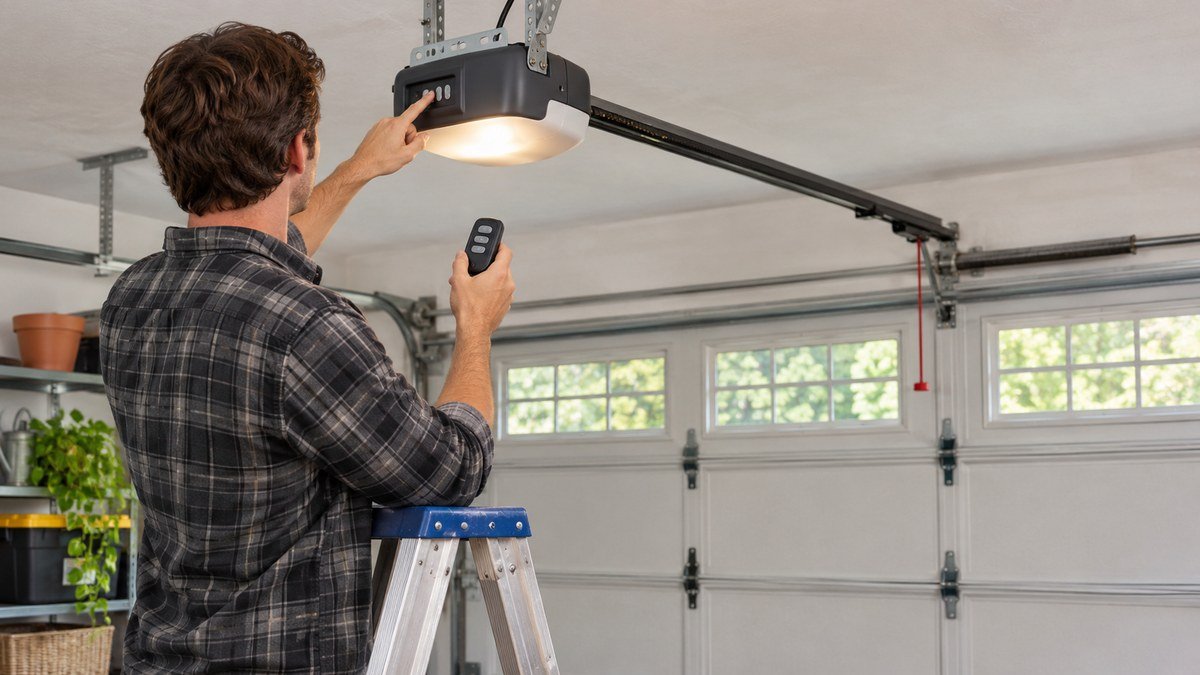
How to program Genie garage door opener remotes depends on what’s on the motor head. A newer Genie has a PROGRAM button with a round LED that turns blue. An older one has a Learn Code button with a red LED. The oldest has a row of code switches under the light lens.
Each type takes different steps. A new Genie Master remote also leaves the factory set for the older type, so on a newer opener it won’t pair until you switch it. Here’s how to tell which Genie you have, then the steps for each.
Which Genie do you have?
Climb up and look at the powerhead, the motor unit on your ceiling. If you don’t spot a button right away, check under the light lens too, since Genie says the Learn Code button on earlier models usually sits there.
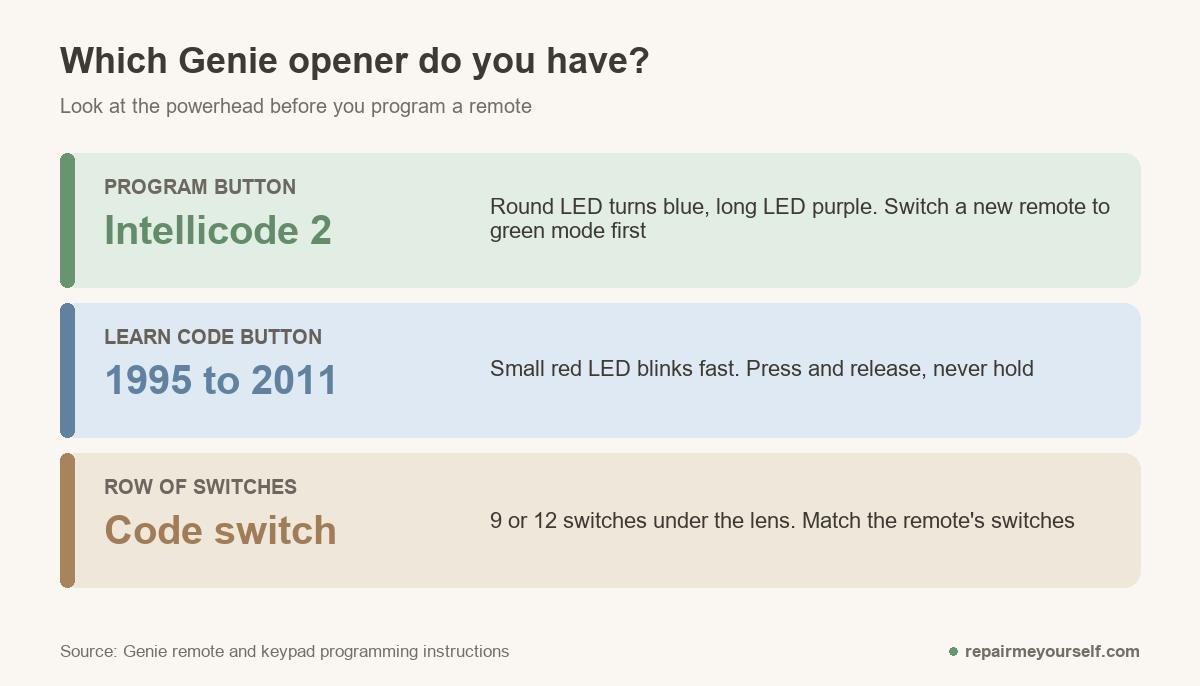
| What you see on the powerhead | Opener type | Learn mode looks like |
|---|---|---|
| PROGRAM (or PRGM/SET) button, a round LED and a long LED | Current Genie, Intellicode 2 | Round LED turns blue, then the long LED flashes purple |
| Learn Code button with a small red LED | Built 1995 to 2011, Intellicode 1 | Red LED blinks rapidly |
| A row of 9 or 12 three-position switches | Older code switch opener | No learn mode; you match the switches |
Genie’s keypad instructions date the Learn Code generation from 1995 to 2011. If your house went up in that stretch with its original opener, start there. The steps for it are also the shortest.
Program a remote to a Learn Code Genie (1995 to 2011)
These openers run Intellicode 1. Genie’s instructions for its 3-button Genie Master remote give these steps:
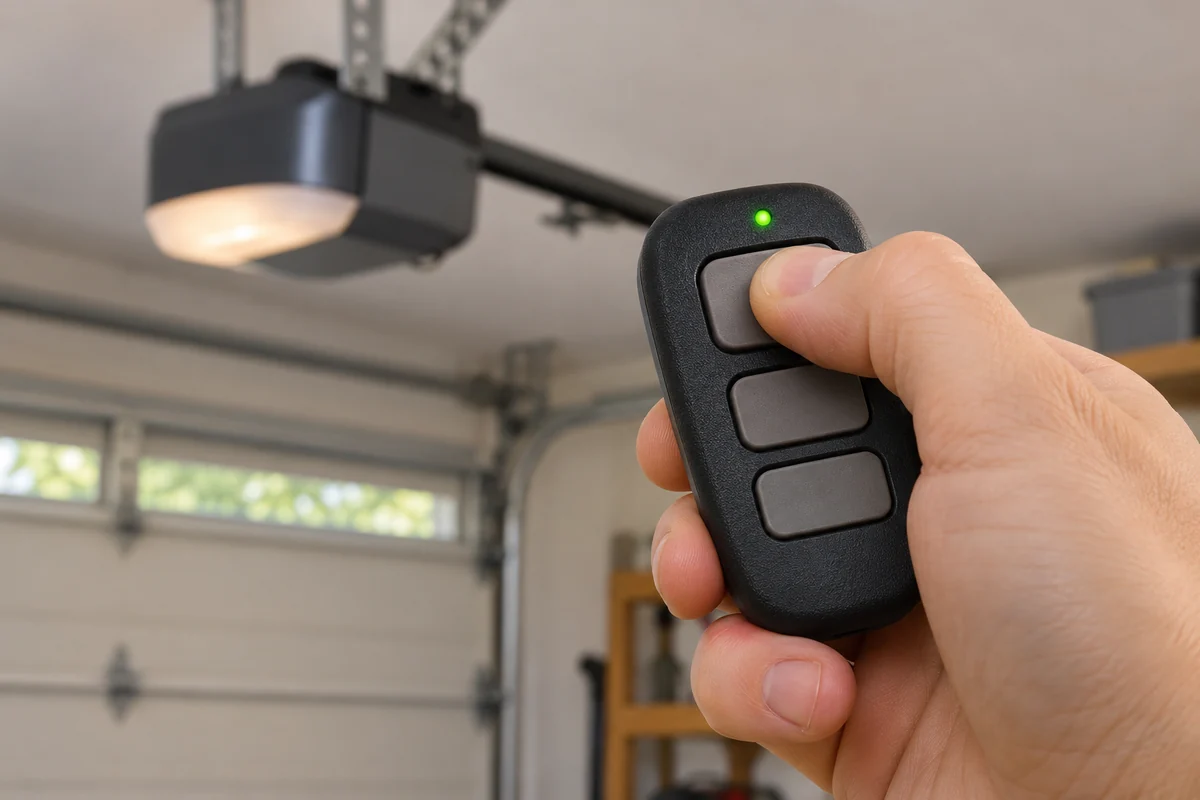
- Press and release the Learn Code button. The Learn Code LED blinks rapidly.
- Press and release the remote button you want. The LED stops blinking and stays on.
- Press and release the same button again. The LED turns off.
- Press it once more, and the door should run.
Notice it’s press and release every time. Don’t hold the Learn Code button down: Genie says holding it until the LED stops blinking is how you erase every remote on this type.
Genie also says the opener’s Learn LED times out after 30 seconds, so have the remote in your hand before you start. If you miss the window, you just press Learn Code again.
Program a remote to a newer Genie with a PROGRAM button
Newer Genies use Intellicode 2, and a new remote needs one extra step first. Genie says its Genie Master remote leaves the factory in Intellicode 1 mode, which shows as a red LED on the remote. For a newer opener, that button has to be switched over first.
Switch the remote button to Intellicode 2:
- Press and hold the remote button. A steady red LED comes on, and after 10 seconds a green LED lights too.
- Release the button, then press and release it twice. Both LEDs turn off.
- Press it once more. If the green LED lights while you press, it’s now in Intellicode 2 mode.
Then program it to the opener:
- Press and hold PROGRAM on the powerhead for about 2 seconds, until the round LED turns blue. Let go, and the long LED turns purple.
- Press and release the remote button you set.
- Press and release it again. Both LEDs on the opener go off.
- Press it a third time, and the door runs.
Those steps are for the Genie Master remote. Other Genie remotes have their own instruction sheets, so check the one that came with your remote before you assume it works the same way. Programming two doors? Genie says each opener needs its own remote button.
Code switch Genie openers
The oldest Genies don’t learn at all. Open the light lens and you’ll find a row of 9 or 12 switches. Genie’s instructions call them three-position switches (plus, minus and zero), and the remote has to match them.
On the Genie Master remote, Genie says to slide off the rear cover, set its switches to match the opener’s, then press the non-rolling code button (B, C or D) that the label inside the cover lists for your switch type. With a 9-switch opener, switches 10, 11 and 12 on the remote go to the middle position.
Already have a working remote with switches? Copy its settings instead of climbing up to the opener. Read each switch closely, though. A retired tech on r/GarageDoorService told an owner with an old 9-switch Genie that their switches only used two positions:
“The switches are hard to tell which is up or down because some are sliders and some are rocker switches.” u/techman710 on Reddit
Program a Genie wireless keypad
The GK-R keypad needs its own PIN first, before it ever talks to the opener. Genie’s keypad instructions suggest doing all of this before you mount it.
- Pull the battery tab. With the number pad backlight off, press 3-5-7, then PROGRAM. The LED blinks once a second.
- Enter a PIN of 3 to 8 digits and press PROGRAM. The LED blinks twice and shuts off.
- Put the opener into learn mode. That’s PROGRAM until the round LED turns blue on a newer Genie, or one press of Learn Code on a 1995 to 2011 model.
- With the backlight off, enter your PIN, then press UP/DOWN slowly 3 or 4 times until the door runs.
One keypad can run up to three doors on a single PIN. Genie’s instructions add a step where you press PROGRAM twice and enter 2 or 3 for the number of openers, then program each door by its number.
If the keypad flashes rapidly, Genie says the entry failed. Wait 15 seconds for the backlight to go out before you try again.
Program HomeLink or Car2U to a Genie
Genie openers work with both in-car systems. For HomeLink, Genie’s blog gives three stages:
- Clear HomeLink. Hold the first and third buttons until the indicator blinks slow, then fast, for about 20 seconds. This removes every opener programmed to the car.
- Train it from a Genie remote. Hold the remote two inches from the chosen HomeLink button. Hold the remote button, then hold the HomeLink button too, until the indicator blinks slow then fast.
- Pair it to the opener. On a newer Genie, hold PROGRAM until the round LED is blue. Then press the HomeLink button for two seconds, twice, and keep pressing until the door moves. On a Learn Code Genie, press Learn Code once, then press the HomeLink button twice, the way you would a remote.
Don’t give up if the HomeLink light doesn’t do what the manual says. An owner on r/GarageDoorService couldn’t pair a 2025 Mazda to a Genie 6170H-B until this happened:
“Instructions and videos say the homelink light will blink slow then rapidly but mine will initially blink fast then slow.” They gave up waiting, pressed the button anyway, and the door ran. u/Zakspeedf1 on Reddit
So press the HomeLink button and test the door before you start over.
Car2U pairs the same way at the opener. Genie says its factory default sets button 1 for Genie openers, so clear Car2U by holding buttons 1 and 3 for about 20 seconds, then pair button 1 with the steps above.
Clear every remote from a Genie
Lost a remote, or just moved in? Genie’s own reasons for a wipe include a new home, tenant turnover and a stolen remote.
- Newer Genie: Hold PROGRAM until the round LED turns blue, then release. Hold the UP (+) and DOWN (-) buttons together until both LEDs go solid blue.
- 1995 to 2011 Genie: Hold the Learn Code button until its LED stops blinking.
Genie warns this clears every remote, keypad and car system, HomeLink and Car2U included. The wall console still works afterward, so you won’t be locked out of your own garage.
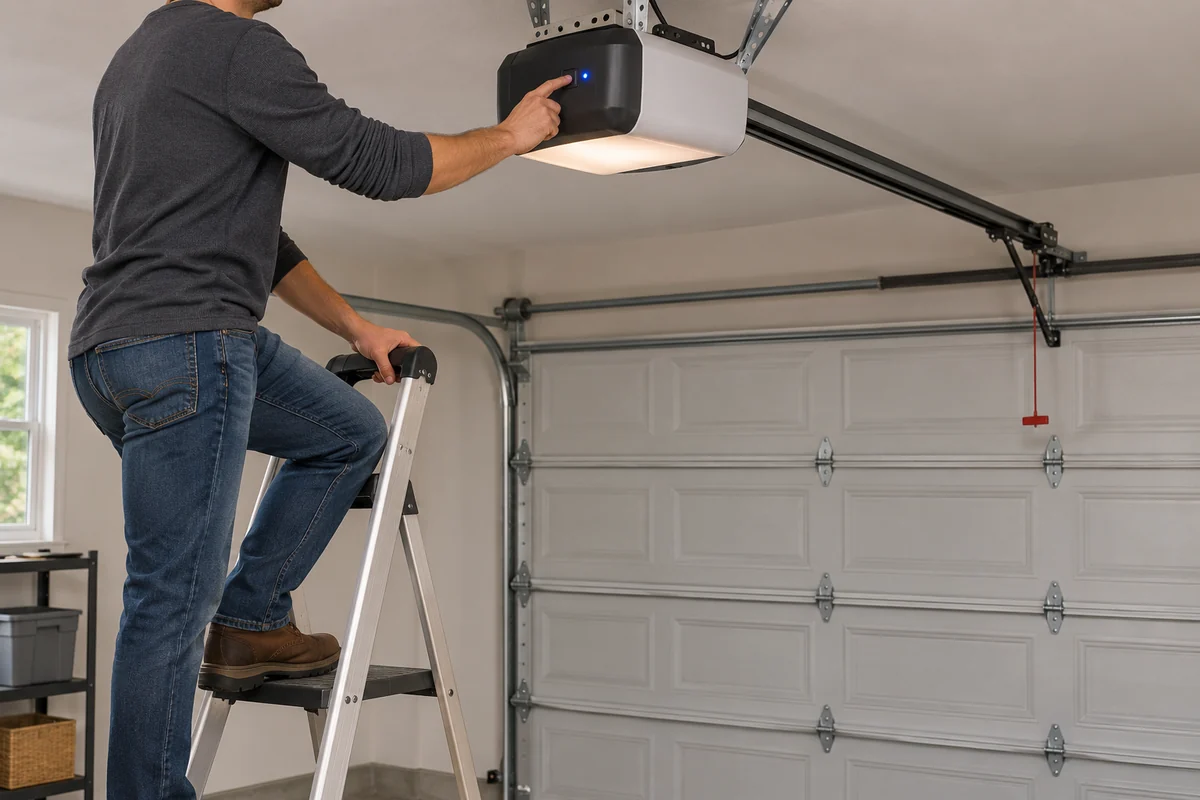
I’d wipe and reprogram any Genie that came with a house. Genie’s blog also notes that most older pre-1995 Genies hold only seven wireless devices, and an eighth pushes out the last one programmed, which is another reason to start clean.
How to program Genie garage door opener remotes: questions
Why won’t my new Genie remote work on my opener?
On a newer Genie with a PROGRAM button, the remote button is probably still in Intellicode 1 mode, red LED only. Switch it to Intellicode 2 and program it again.
Do I have to reprogram after changing the battery?
No. Genie says programming isn’t affected when you replace the battery in its Genie Master remote, which takes a 2032 coin cell.
Can a Chamberlain or LiftMaster remote work on a Genie?
Only a universal one. Chamberlain’s list of its universal remotes, the CHU62 and LiftMaster L992U, includes Genie Intellicode openers at 315/390 MHz. Genie’s 2-button universal remote works the other way round and lists Chamberlain, LiftMaster and Craftsman openers. To pair one of those remotes to its own opener, see our Chamberlain and LiftMaster guides.