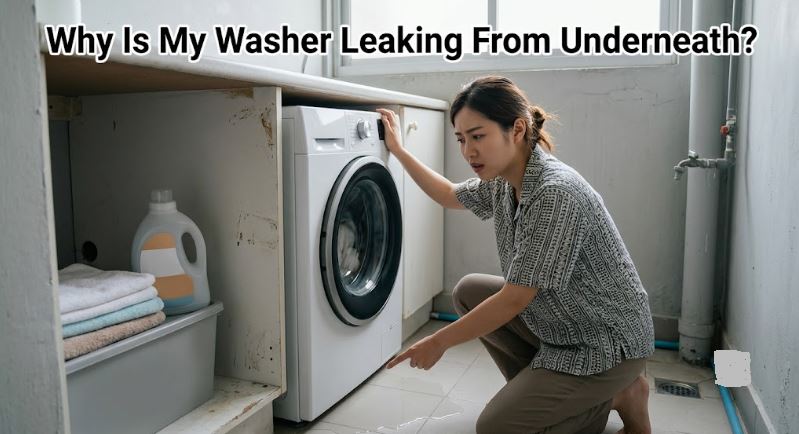
You’re barefoot, walking past the laundry room, and your foot lands somewhere it shouldn’t. A thin sheet of water has spread out from under the washer, already creeping toward the baseboard. The cycle’s still running. You have no idea how long it’s been like this.
A washer leaking from underneath is usually a loose supply or drain hose, a failing door seal, a cracked pump, or a worn tub seal letting water escape.
A leak this size rarely comes from one dramatic failure. It’s almost always a specific connection or seal, and most of them are easy to find once you know where to look.
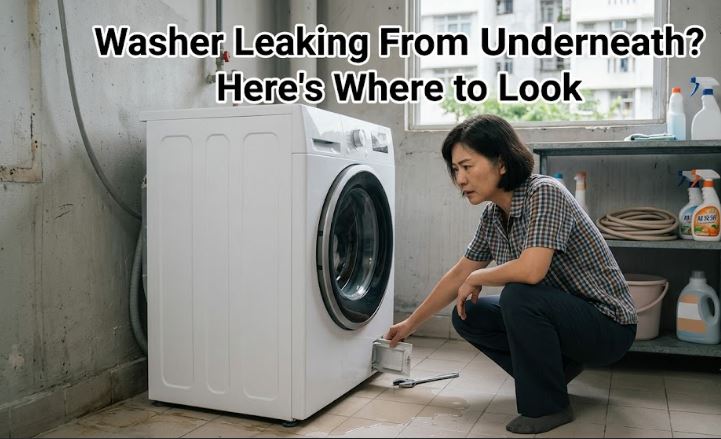
Tracing the Washer Leak Back to Its Source
When the water shows up narrows the source faster than checking every hose at once.
| When You See Water | Most Likely Source | Typical Fix |
|---|---|---|
| Constant drip, washer not even running | Loose water inlet hose connection | Tighten or replace the hose |
| Appears during fill only | Inlet hose or valve connection | Check hose washers and fittings |
| Appears during wash or agitation | Door boot seal or overloaded drum | Inspect the seal, reduce load size |
| Appears during or right after drain | Drain hose connection or pump | Reseat the hose, inspect the pump |
| Suds visible in the water on the floor | Oversudsing from too much detergent | Reduce detergent, switch to HE formula |
| Leak worsens over several cycles | Cracked pump housing | Replace the drain pump |
| Water seems to come from the middle underneath, not an edge | Worn tub seal or bearing | Professional inspection required |
Why Is Your Washer Leaking From Underneath?
A washer is a sealed system carrying a lot of moving water, so a leak almost always traces to a connection point or seal rather than the tub failing outright.
1. Loose or Damaged Water Inlet Hose Connections
The hoses feeding hot and cold water into the washer connect with rubber or fiber washers that compress and harden over years of use. A loose fitting or hardened washer lets water seep out with every fill, sometimes slowly enough to be mistaken for condensation.
Rubber hoses also become brittle with age and can develop pinhole leaks before they visibly crack. Braided stainless steel supply hoses (View on Amazon) resist this kind of wear far longer.
2. A Loose or Improperly Positioned Drain Hose
The drain hose has to sit at the correct height and depth inside the standpipe. Pushed in too far, not clamped, or sitting loose, it can spray water out during the drain cycle instead of going down the pipe.
Our washing machine check valve guide covers proper standpipe height and hose positioning, resolving this issue in most cases without requiring replacement. Where the hose itself is cracked, a drain hose extension kit (View on Amazon) includes the clamps needed.
3. A Failing Door Boot Seal
Front-load washers rely on a large rubber gasket, the door boot, to keep water sealed inside the drum during wash and spin. Small tears, trapped debris, or a gasket aged past its flexibility let water escape at the bottom of the door.
Overloading is the most common cause of a torn boot seal, since a packed drum can pinch fabric against the gasket edge as the door closes. A direct-fit replacement door boot seal (View on Amazon) fits most Whirlpool, Maytag, and Amana models.
4. Oversudsing From Too Much or the Wrong Detergent
Excess suds don’t stay contained the way plain water does. Foam can work past seals and gaskets that would otherwise hold water back fine, especially around the door and detergent dispenser.
This is worth ruling out before assuming a part has failed, since it costs nothing to test. Cut your detergent amount in half on the next load, and confirm you’re using an HE-labeled formula if your washer requires one.
5. A Cracked or Failing Drain Pump
The drain pump housing is plastic on most washers, and it can crack from age, an impact, or a small object caught inside during the drain cycle. Once cracked, it leaks specifically while the pump runs, usually during or right after the drain phase.
This tends to worsen gradually, so a leak that’s grown over several cycles points fairly directly here. Our Kenmore not-draining troubleshooting guide covers pump access and testing.
6. A Worn Tub Seal or Bearing
The seal between the inner tub and outer cabinet keeps wash water contained as the drum spins. When it wears out, water works past it and drips from the center underneath the machine rather than from any single hose or connection.
This is the most involved cause on this list, requiring significant disassembly, and it’s rarely worth attempting without appliance repair experience. On an older washer, it’s also a reasonable point to weigh repair cost against a new machine.
7. A Leaking Water Inlet Valve
The inlet valve sits behind the washer where the hoses connect, and internal solenoid failure can let water trickle through even when the washer isn’t filling. This shows up as water appearing with no cycle running, sometimes only noticed hours after the last wash.
Because the valve involves both plumbing and electrical connections, this is worth having inspected rather than guessed at, especially if the trickle continues with the washer fully unplugged.
How to Find the Leak Without Guessing
Work through these in order rather than checking every part of the washer at once.
- Run the washer empty and watch closely during fill, wash, and drain to see when water appears.
- Check both inlet hoses at the wall and at the washer for looseness or wear.
- Inspect the door boot seal for tears, trapped debris, or gaps while the door is open.
- Look at the drain hose connection at the standpipe to confirm it’s properly seated and clamped.
- Watch the pump area underneath during the drain phase, since pump leaks often only show up there.
Fix It Yourself or Call a Plumber?
| Cause | DIY-Friendly | Needs a Professional |
|---|---|---|
| Loose inlet or drain hose | Yes, tighten or replace | — |
| Oversudsing | Yes, adjust detergent | — |
| Door boot seal | Yes, straightforward part swap | — |
| Drain pump | Yes, if accessible on your model | — |
| Water inlet valve | No | Yes, appliance technician |
| Tub seal or bearing | No | Yes, major disassembly required |
When a Small Leak Is Actually a Big Problem
A drip you catch quickly and trace to a loose hose is a minor fix. What’s worth taking seriously is water that keeps returning after you’ve tightened every connection you can find, or a leak that seems to come from underneath the center of the machine rather than an edge. That pattern points toward the tub seal, and continuing to run the washer risks water damage to your subfloor that costs far more than the repair itself.
Questions Homeowners Ask About Washer Leaks
Can a washing machine leak without being broken at all?
Yes. Overloading, too much detergent, or an improperly positioned drain hose can all cause leaking on an otherwise functional washer, worth ruling out before assuming a part has failed.
Is it safe to keep using a washer that’s leaking?
Only briefly while you diagnose the source. A small, consistent leak can still damage flooring over time, and water reaching electrical components adds a real safety risk.
Why does my washer only leak during the spin cycle?
Spin creates the most centrifugal force in the cycle, pushing water against seals and connections harder than at any other point, making a marginal door seal or hose most likely to show a leak then.
How do I know if it’s the tub seal versus a hose?
A hose leak traces back to a specific connection point you can see and touch. A tub seal leak shows up as water seemingly coming from underneath the center of the cabinet with no visible source.
Will a new washer definitely fix a leak an older one has?
Usually, if the cause was age-related wear like a failing tub seal. If the cause was an improperly positioned drain hose or an unlevel floor, a new washer can develop the same leak unless that gets corrected too.
Stopping the Leak at Its Source
A washer leaking from underneath is telling you a specific connection or seal has given out, not that the whole machine is failing. Run it empty to catch the leak in the act, check every hose and the door seal first, and treat a leak from the center of the machine as a signal to call in help rather than DIY it. Once you’ve traced the water back to its actual source, most leaks are a quick fix.