Here’s how to replace dryer belt on an electric machine: unplug it, take off the front panel, lift the drum out with the old belt still on it, then thread the new belt over the idler and motor pulley before the drum goes back. The whole job runs 30 to 60 minutes on most models.
I pull the tech sheet before I touch a screw, and on dryers it usually sits behind the lower panel or taped inside the cabinet. Most of the machines I work on are Whirlpool-family.
So the panel screws and belt routing below follow that layout, with the differences noted where they matter to you.
Three signs, three different parts
A dryer that won’t turn has one of three faults, and they feel similar from the front. How do you tell them apart? Turn the drum by hand with the power off.
| What you find | Part at fault | What it costs you |
|---|---|---|
| Drum spins freely, clothes stay wet | Belt snapped or slipped off | The belt, plus an hour |
| Drum fights your hand, or grinds | Roller or drum bearing | Rollers, sometimes the drum |
| Drum rocks and thumps at one spot | Drum glides worn flat | Glides, a few screws |
| Belt looks fine but slips off while running | Idler spring unhooked or stretched | The spring, not the belt |
Free-spinning is the belt sign. The other three get diagnosed as a belt because the symptom reads the same from your laundry room door. A thump at one spot and a grind that follows the drum are the parts that fool people.
What you need, and the 30-minute question
Tools are a Phillips and a flathead, a pair of pliers, gloves for the cut metal edges, and a vacuum for the lint behind the panel; a putty knife helps on cabinets whose top clips rather than screws.
Buy your belt by model number, not by brand. The number is on a sticker inside your door or on the back panel. A belt sold as “fits Whirlpool” fits a range, not your machine.
Set aside 30 to 60 minutes for your first run at it, because first-timers land at the top of that range, mostly on the drum lift and the rethread.
How to replace dryer belt: open the cabinet, lift the drum
Unplug your dryer, pull it clear of the wall, and on a gas model close the shutoff valve and stop there, because the burner and its line are not a homeowner job. The steps below follow the Whirlpool-family teardown that most front-panel dryers share.
Everything below assumes electric.
- Remove the front panel screws. On most Whirlpool-family dryers, two screws sit at the bottom corners of the front panel. Take them out, then work a flathead behind the top edge and ease the panel toward you.
- Disconnect the door switch. The panel hangs by a wire harness at the top. Unclip it rather than pulling the panel away with the wires taut.
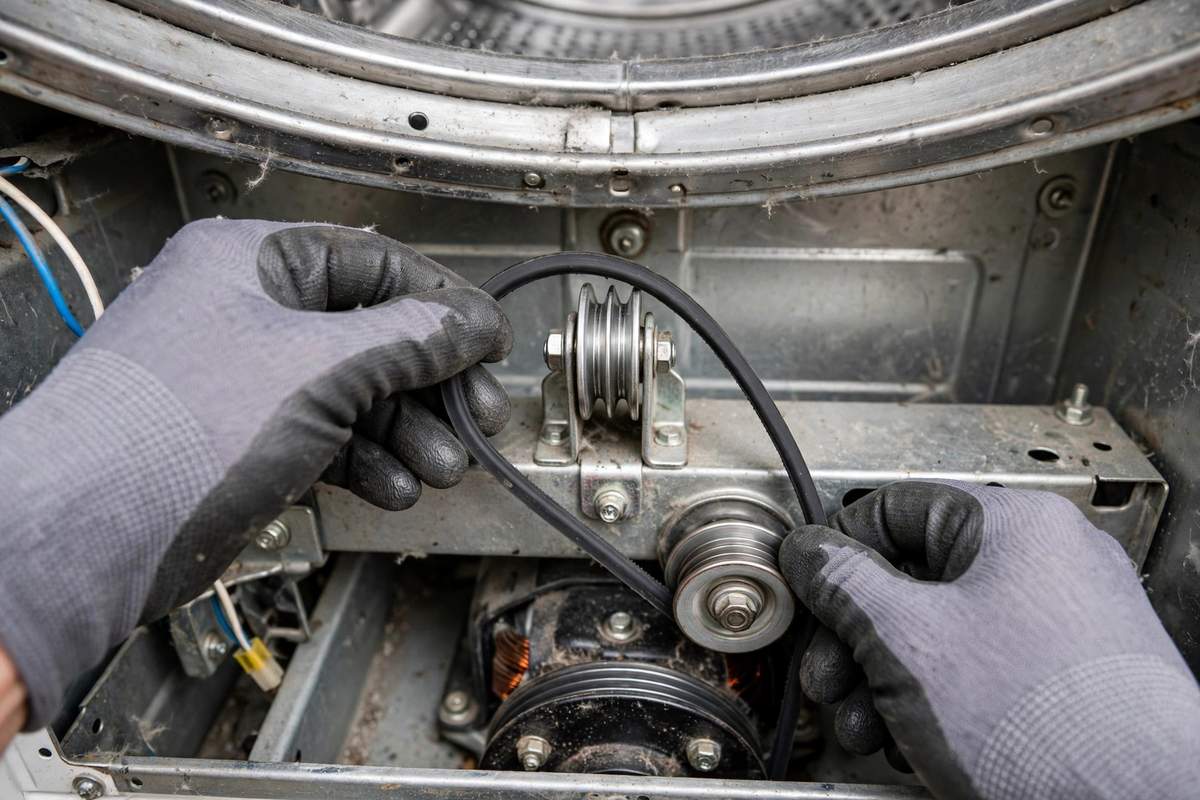
- Release the belt from the pulleys. Reach under the drum and slip the belt off the idler and motor pulley with your hand flat. Leave it around the drum.
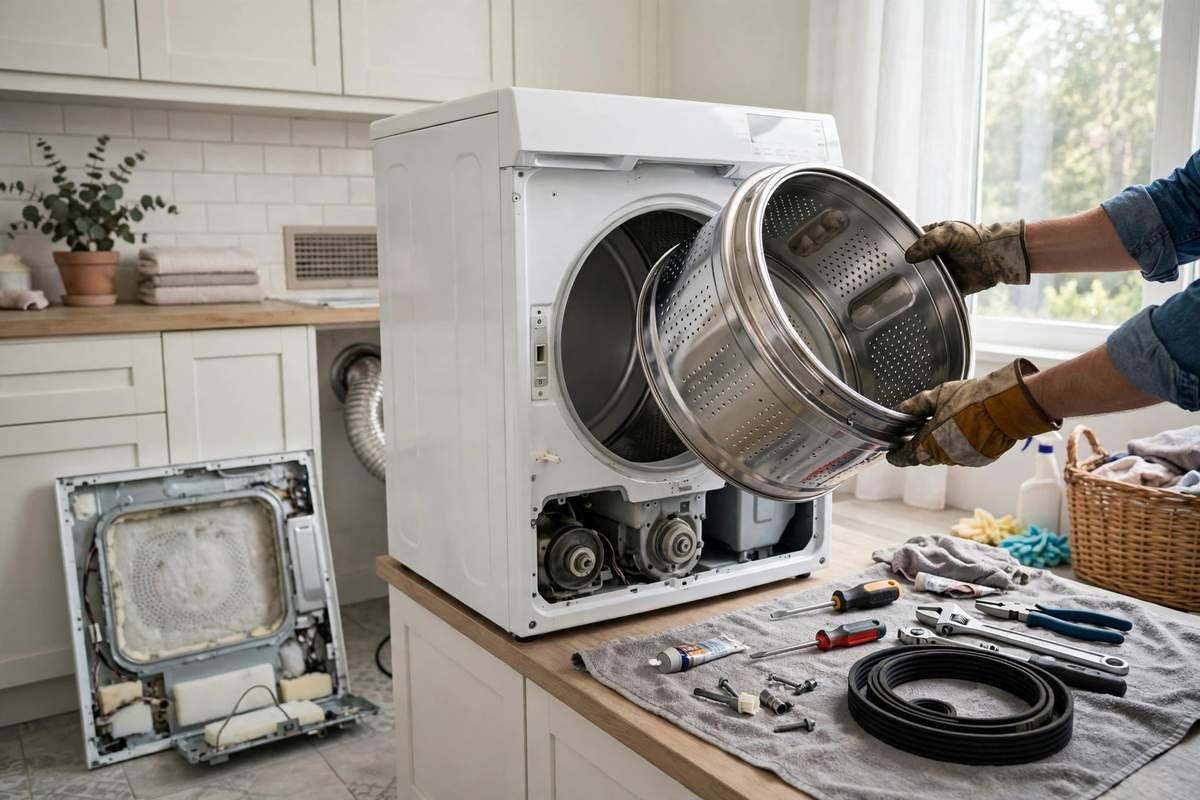
- Lift the drum out. Grip it at the front lip and lift it off the rollers toward you. It’s lighter than it looks, and the old belt comes out with it.
- Copy the routing. Lay the drum on its side and note which way the belt sits, including the side facing the drum. The old belt is your diagram.
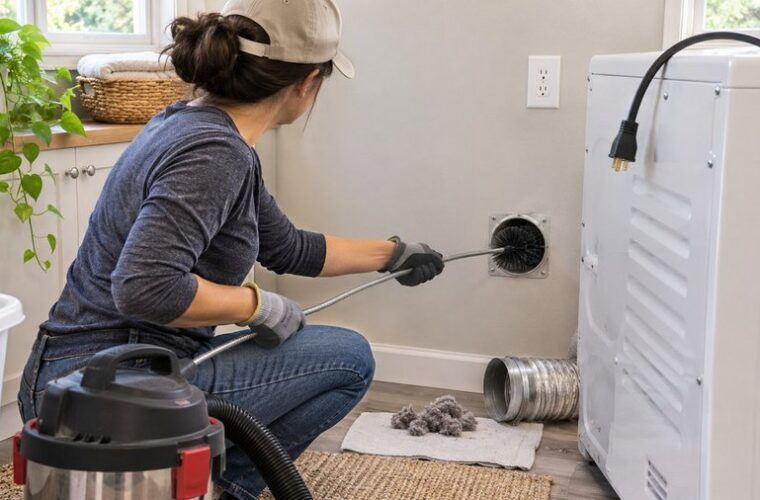
Vacuum the cabinet while it’s open to you. Lint packed around the motor is why a machine that ran hot runs hotter after a repair.
Thread the belt before the drum goes back in
Slide the new belt over the drum in the same position the old one held, then set the drum back on its rollers. Threading it with the drum in place works, and it’s miserable.
Run the belt down around the motor pulley first, then over the idler pulley. The idler sits on a spring arm, and the spring is what holds tension, not the belt’s own length.
If that spring is unhooked or stretched, a new belt’ll walk off the pulley within a few cycles and you’ll blame the belt.
Check the spring before you close anything. It hooks to the motor base on most Whirlpool-family machines.
A spring that’s lost its hook can be reattached. A stretched one needs replacing.
Turn your drum by hand two full rotations. The belt should track centered, with no rub against the cabinet and no slack on the idler side.
Close it up and test it empty
Hook the door switch back up, set the panel, and drive the two screws. Plug it in, then run your dryer empty on a timed cycle for five minutes.
Listen at the start of the cycle. A belt that’s tracking right is quiet. A slap or a squeal in the first minute means your belt is off the idler or the spring isn’t tensioned, and you’ll be opening the panel again anyway.
Then check your drum through the open door. It should turn with your clothes load, not stall under it. A drum that turns empty but stalls loaded points at the tension or the motor, and it’s not a belt problem.
When it’s not the belt
A service call for a belt runs you $150 to $300, depending on the market and the machine. A parts retailer puts the do-it-yourself version under $40, and that gap is why this repair gets attempted at home more than any other.
The gap narrows when the diagnosis is wrong. Rollers, glides and an idler arm add parts, and a dryer with a worn drum bearing is a different job, with a price to match.
I send people to a pro when the drum fights the hand turn, when the cabinet shows rust through the bottom seam, or when the machine is a gas model and the burner has to come out. Whether the repair is worth it at all depends on the age of the machine more than the part.
On a dryer past its expected life, the belt is often the first of three repairs you’ll face in a year. The lifespan numbers are worth a look before you order the part.
FAQ
How to replace dryer belt when the drum won’t turn?
Turn the drum by hand first. If it spins free, replace the belt. If it fights you, the rollers or bearing have seized and a new belt will burn out on the first load.
How expensive is it to replace a dryer belt?
A shop charges $150 to $300 for the job. The belt itself is the cheapest part in the machine, and a DIY swap usually lands under $40 with tools already in the house.
Can I replace my dryer belt myself?
On an electric dryer, yes. It’s two panel screws, a wire clip, a drum lift and a belt rethread. On a gas model, stop at the panel and call someone for anything past the belt.
How do I know my dryer belt is broken?
The drum spins freely by hand while the motor hums and the clothes stay wet. A drum that resists your hand is a roller or bearing fault, not a belt.
Can you reuse the old belt?
No. A belt that came off on you is stretched, glazed or cracked, and it’ll slip again within weeks. The old one earns its keep as a routing diagram, then goes in the bin.
Dryer panel symbols are a separate lookup if the machine runs but shows a code.