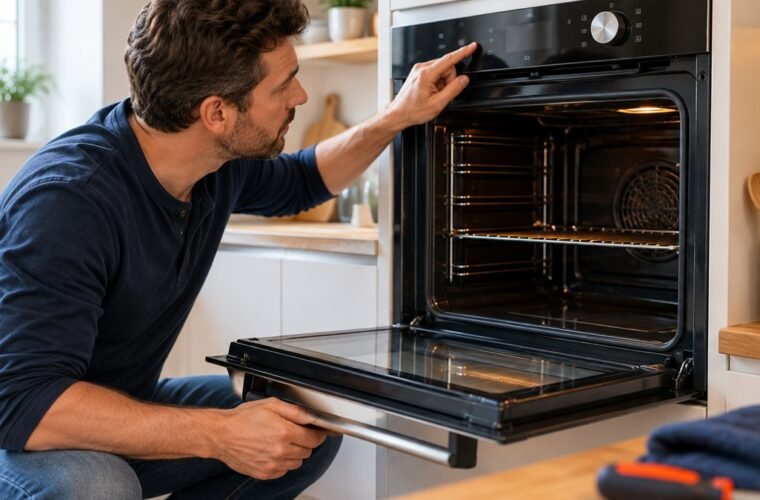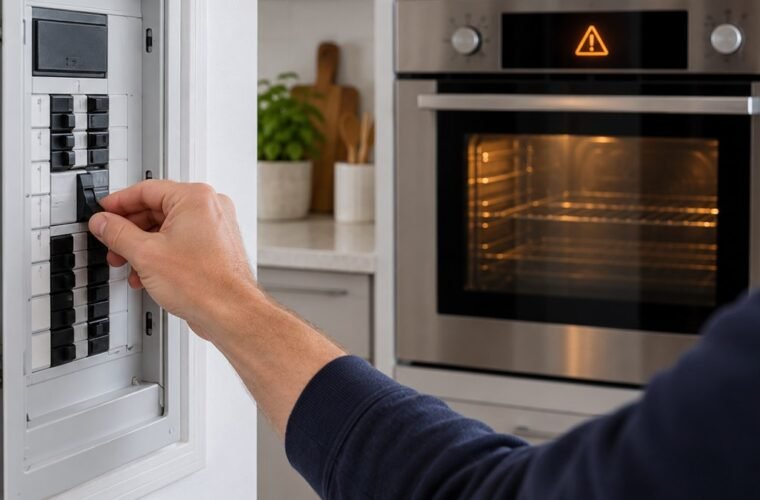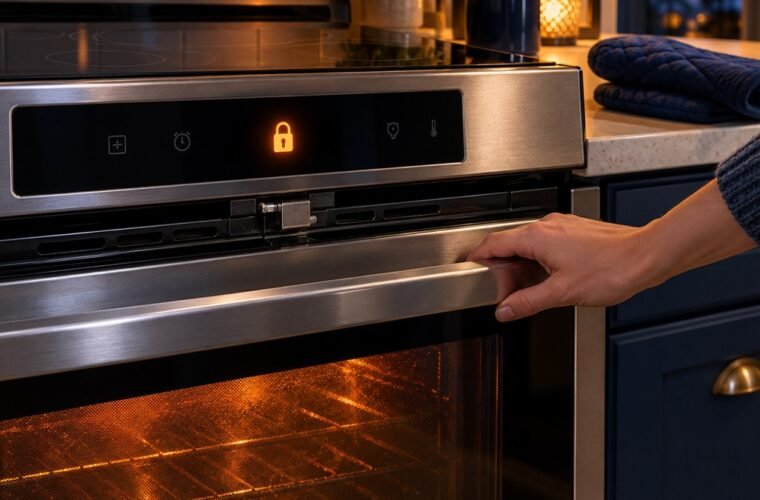
To replace an oven heating element, switch off the breaker, remove the screws holding the element to the back wall and pull it forward a few inches. Clip the wires so they can’t slip back. Move them to the new element, screw it in and test it at 350°F.
This is how to replace oven heating element parts on most freestanding electric ranges, and it takes a screwdriver, a nut driver and a meter. Test the old element before you buy anything. A new one won’t fix an oven whose element was fine.
I carried a multimeter on every service call, and ovens are where it saved owners the most money. More than once the element looked scorched, metered fine, and the real fault was somewhere else.
Can you replace it yourself, or is it a hidden element?
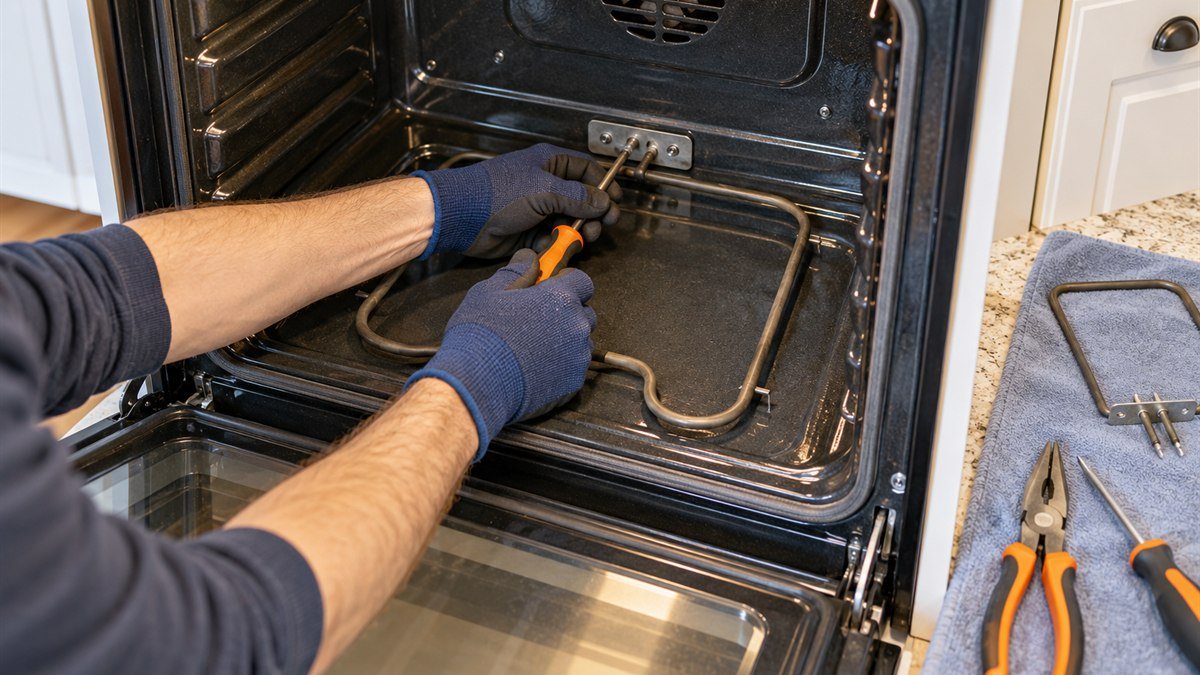
You can replace an oven heating element yourself when you can see it: a bake coil on the oven floor or a broil coil at the top, held by screws on the back wall. If the floor is a smooth enameled panel with no coil showing, GE says a hidden element needs a service technician.
GE builds hidden bake elements into many of its electric ranges and wall ovens. The element sits under a non-removable porcelain oven floor, which makes the oven easy to clean and hard to service.
Wall ovens are fine to work on if the element is exposed. You can’t pull one out of the cabinet as easily, though, so be careful with the wires.
A gas oven heats with a burner and an igniter instead of a bake element. I don’t do gas work, and I’d hand that job to a licensed technician.
How do I know if my oven element is blown?
A blown oven element shows a break, a crack or a blistered patch, or part of the coil stays dark while the rest glows. To confirm it, cut the power, pull both wires and measure across the two terminals with a multimeter. An open reading means the element is dead.
GE’s first check for an oven that won’t heat while the burners still work is a close look at the lower element for cracks or breaks. If you see one, stop testing and order the part.
If it looks fine, meter it. Many elements carry a stamp with their wattage and voltage near the terminals. If you can’t find one on yours, the parts listing for your model may give the wattage.
Square the voltage and divide by the watts. That’s the resistance a healthy element should show. A 240-volt, 2,500-watt element works out to about 23 ohms, so your reading should land close to that.
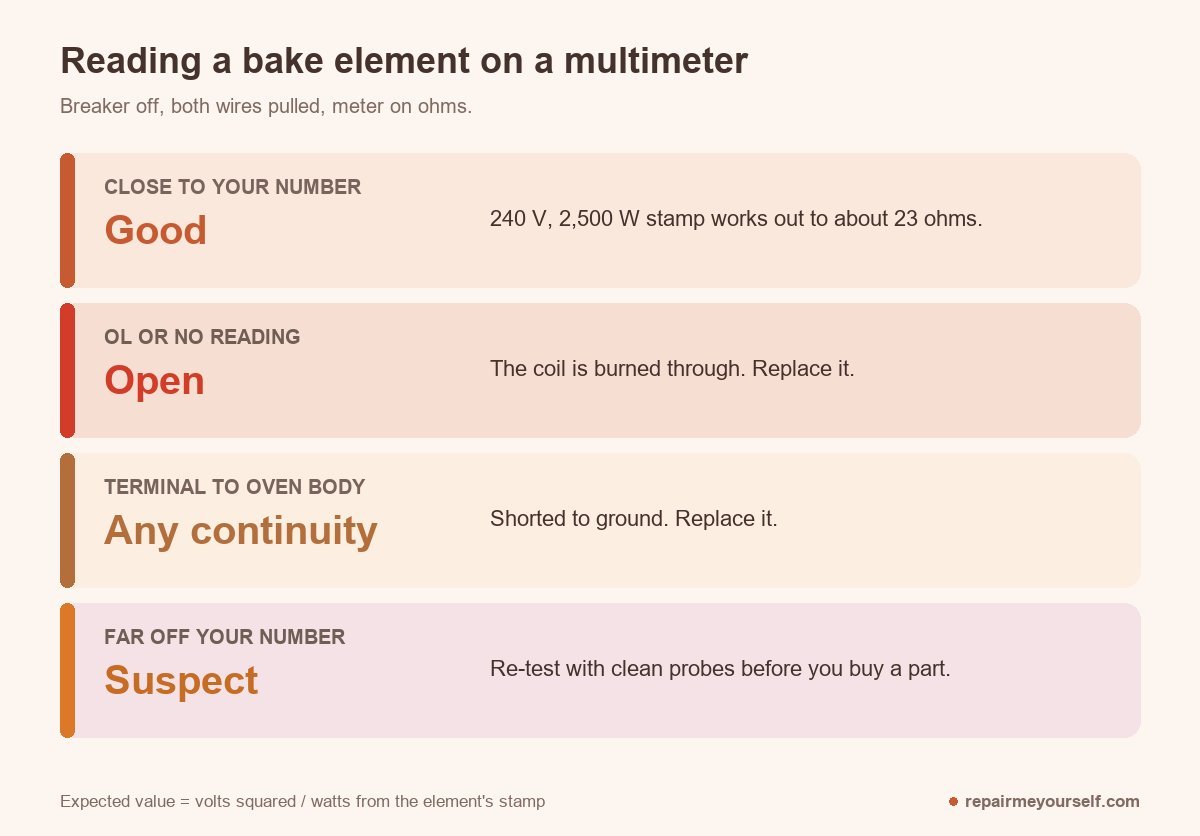
Three readings mean you replace it. If the meter shows OL or no reading at all, the coil has burned through.
If you get continuity from either terminal to the oven’s metal body, it’s shorted to ground. And if the reading is far from your calculated number, test again with clean probes before you spend money.
If the stamp is gone and you can’t find the wattage, a steady reading in the low tens of ohms, with nothing to the body, means the element is probably good. Our multimeter picks for appliance repair work fine for this test.
Parts and tools to have before you start
Start with the model number. On the ranges I worked on, the label sat inside the door frame or behind the bottom drawer.
Match the element to that model number, not to a photo you found online.
GE’s own parts store shows how model-specific these get. Its WB44X10009 bake element is marked as no longer manufactured, so if you own an older range, you may need a substitute part number.
- The replacement element, matched to your model number
- A screwdriver or nut driver for the mounting screws
- Needle-nose pliers for stiff terminals
- Masking tape, a binder clip or a wooden clothespin to hold the wires
- A multimeter, plus a non-contact voltage tester to confirm the power is off
- Work gloves and a headlamp, since the back of an oven is dark
How to replace oven heating element parts without losing a wire
Do the swap in this order, with the breaker off the whole time. Steps 1 and 5 are the ones people skip, and they’re the two that lead to shocks and lost wires.
- Turn the range off, switch off its breaker, and unplug it if you can reach the plug. Check the oven light or clock is dead, then confirm with your voltage tester.
- Take out the oven racks. The bake element sits at the bottom rear, and the broil element hangs at the top.
- Remove the screws that hold the element’s mounting plate to the back wall.
- Pull the element straight toward you, about 4 to 5 inches, until the terminals and wires come through the wall. Go slowly, because the wires are short.
- Clip each wire before you touch the terminals. Tape it to the oven wall or clamp it so it can’t slide back through the hole.
- Take a photo of which wire goes on which terminal.
- Disconnect the wires. Some slide off spade terminals and others have small screws. Pull on the connector, never the wire itself.
- Connect the new element exactly as the photo shows, feed the terminals back through the wall and screw the plate in. Snug is enough. Overtightening can strip the screw into the oven liner.
- Put the racks back and switch the breaker on.
One r/appliancerepair reply sums up the one part of this job that goes wrong:
“A lot of elements can be replaced from the front. Just make sure you have a way to stop the wires from slipping back behind the wall.”
– r/appliancerepair
Another commenter in the same thread uses wooden clothespins for the job, and they work better than tape on a greasy wall.
If a wire slips behind the back wall
Don’t fish for it through the hole with pliers. Switch the breaker off again, slide the range out from the wall and take off the rear access panel.
The terminals sit right behind the element’s mounting plate, so you can reach the loose wire from the back and push it through to where you can grab it.
I lost a wire that way on a call once. The panel came off with a nut driver, and getting the range out of its cutout took longer than the fix.
The first heat-up: what’s normal and what isn’t
Set the empty oven to bake at 350°F. The new element should glow evenly along its whole length. For a broil element, set it to broil.
A little smoke or a hot-coating smell the first time is normal. Lowe’s says the coating on a new element does this.
Heavy smoke, an uneven glow or a burning-insulation smell isn’t normal, so switch the breaker off and recheck your connections.
What if the oven still won’t heat?
If a new element doesn’t fix it, something else failed too. Check the breaker first. Then test the oven temperature sensor, the wiring to the element and the control board, and if you have a self-clean model with a manual latch, GE says to make sure the latch is unlocked.
A slow preheat after the swap is a different problem. A universal element with a lower wattage than the original heats more slowly, because it delivers less power. Match the part number to your model number and you won’t see it.
Did the new element glow but the oven never got hot? The control may not be calling for heat long enough, which points at the sensor. If you’ve got a Samsung range, our Samsung oven not heating checks walk through demo mode, the stuck preheat display and its sensor codes.
Other questions about replacing an oven element
How much does a new bake element cost?
It depends on the model. GE’s parts store listed its WB44X10009 bake element at $71.60 on October 18, 2026, marked as clearance. Universal elements can cost less, but check the wattage matches. I won’t guess at a service-call price, because it varies too much by area.
How do you replace the top (broil) element?
Use the same steps, upside down. The broil element hangs from the oven ceiling and screws to the back wall, and some models add a bracket at the front. Support it with one hand while the last screw comes out.
Is it hard to replace a heating element in an electric oven?
Not if you can see the element. If you can switch off a breaker and turn a screwdriver, you can do it. The fiddly part is keeping the wires from slipping back into the wall.
If the old element meters good, put the screwdriver down. A second new element won’t fix that oven, and the temperature sensor is the next part to test.