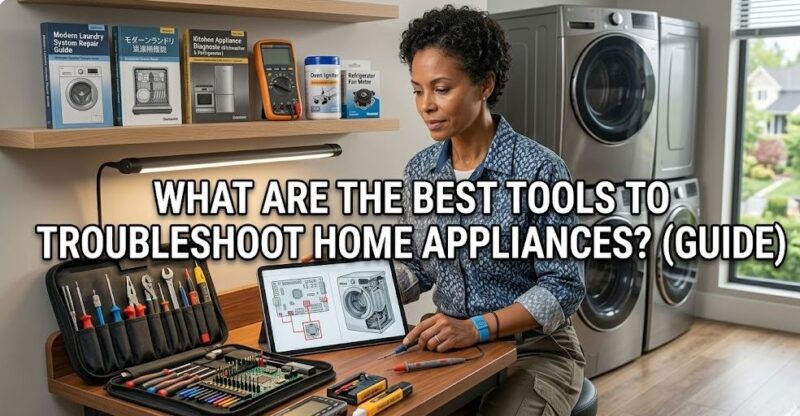
Home appliances keep our lives running smoothly — until they don’t. A washing machine that won’t drain, a refrigerator making strange noises, or a dryer that takes forever to finish a cycle: these are frustrating problems, but most of them don’t require an immediate call to a technician.
The truth is, with the right tools and a bit of know-how, you can diagnose — and often fix — the majority of common appliance issues yourself. This guide walks you through the essential tools every home troubleshooter should have, what each one does, and when to use it.
Whether you’re a first-time DIYer or someone who enjoys maintaining their home, building a solid troubleshooting toolkit will save you money, time, and the stress of waiting around for a repair appointment.
Quick Reference for Tools to Troubleshoot Home Appliances
Here’s a snapshot of the core tools covered in this guide — their primary use, skill level required, and approximate cost range.
| Tool | Primary Use | Skill Level | Approx. Cost |
|---|---|---|---|
| Multimeter | Electrical testing (voltage, continuity, resistance) | Beginner–Intermediate | $15–$80 |
| Non-contact Voltage Tester | Safely detect live wires | Beginner | $10–$40 |
| Appliance Thermometer | Check temperature accuracy (fridge, oven) | Beginner | $10–$25 |
| Clamp Meter | Measure current draw without breaking circuits | Intermediate | $30–$150 |
| Manometer / Pressure Gauge | Test gas pressure on stoves/furnaces | Intermediate | $20–$60 |
| Screwdriver Set | Panel removal, component access | Beginner | $15–$50 |
| Nut Driver Set | Remove hex-head screws on appliances | Beginner | $10–$35 |
| Needle-nose Pliers | Grip small components, wiring work | Beginner | $8–$25 |
| Flashlight / Headlamp | Illuminate tight spaces | Beginner | $40–$80 |
| Inspection Camera (Endoscope) | See inside tight/hidden spaces | Beginner | $20–$100 |
| Gas Leak Detector | Detect combustible gas near connections | Beginner | $70–$130 |
| Adjustable Wrench | Dishwasher/washer drain connections | Beginner | $15–$50 |
1. Electrical Testing Tools
Most appliance failures have an electrical root cause. Whether it’s a blown heating element, a failed thermal fuse, or a motor that’s stopped drawing power, you need the ability to test electrical components safely and accurately.
Multimeter
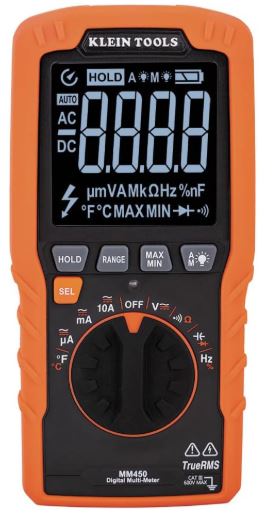
The multimeter is the single most important tool in any appliance troubleshooter’s kit. It measures voltage, current, resistance, and continuity — the four core diagnostics for almost any electrical component.
Use it to test whether a heating element in your dryer is open (broken), whether a door switch on your microwave is passing current, or whether a motor winding is within spec. A mid-range digital multimeter like the AstroAI Digital Multimeter or the Klein Tools MM450 (View on Amazon) gives reliable readings without overwhelming complexity.
Non-Contact Voltage Tester
Before you touch any wiring or open any panel, you need to confirm that power is off. A non-contact voltage tester lets you do this without touching any wires — just hold it near a wire and it beeps or lights up if voltage is present.
This is a safety essential, not an optional extra. Even if you’ve flipped the breaker, you should verify with a tester before reaching into any junction box or terminal block.
Recommended: Fluke 2AC Alert Voltage Tester (View on Amazon) — compact, reliable, and trusted by electricians.
Clamp Meter
A clamp meter goes one step further than a standard multimeter — it measures the actual current a running appliance draws by clamping around a single wire. This helps you identify if a motor is overloading, if a compressor is drawing too much amperage, or if an appliance is pulling more power than it should.
Recommended: Klein Tools CL390 Clamp Meter (View on Amazon)
2. Temperature Testing Tools
Refrigerators, freezers, ovens, and dryers all depend on precise temperature control. When food spoils too fast or your oven takes twice as long to preheat, the thermometer is your first diagnostic step.
Appliance Thermometer
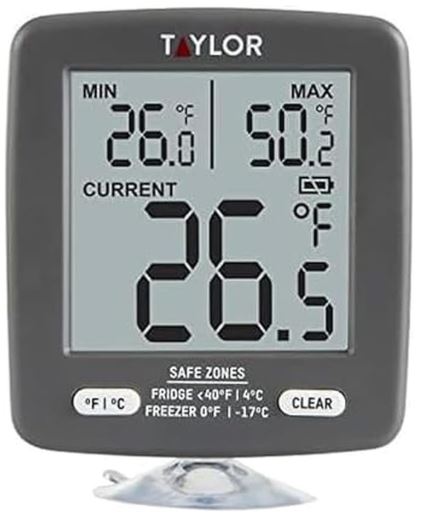
An inexpensive appliance thermometer placed inside your refrigerator tells you instantly if the unit is maintaining the correct 35–38°F range. For ovens, it reveals whether the thermostat is calibrated correctly — a common issue on older ranges where the stated temperature can be off by 25–50°F.
Infrared thermometers are also useful for checking surface temperatures on motors, compressors, and heating elements without making contact.
Recommended: Taylor Precision Refrigerator/Freezer Thermometer or Etekcity Infrared Thermometer (View on Amazon)
3. Mechanical Hand Tools
Most appliance panels, back covers, and component housings are held in place with screws, bolts, and clips. Having the right hand tools means you can get inside the appliance without damaging it.
Screwdriver Set
A comprehensive set should include Phillips heads (sizes #1, #2, #3), flathead in multiple widths, and Torx bits — many appliance manufacturers use star-shaped Torx screws to discourage casual disassembly.
Recommended: DEKOPRO 110-Piece Screwdriver Set (View on Amazon) — includes Torx, Phillips, and flatheads.
Nut Driver Set
Many appliance components — particularly in washing machines, dishwashers, and dryers — are secured with hex-head screws that look like bolts. Nut drivers let you remove these quickly and cleanly. A set covering ¼” to ½” handles most residential appliances.
Recommended: Bondhus Nut Driver Set (View on Amazon)
Needle-Nose Pliers
Essential for gripping small wiring connectors, terminal clips, and reaching into tight spots. Look for a pair with a built-in wire cutter for versatility.
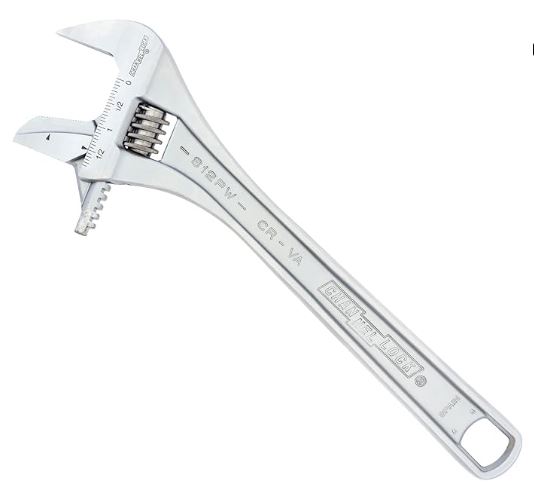
Adjustable Wrench
If you’re troubleshooting a dishwasher drain or a washing machine water inlet, you’ll need to disconnect water supply lines. An adjustable wrench handles the majority of these fittings without needing a full socket set.
Recommended: Channellock 812 PW Adjustable Wrench (View on Amazon)
4. Inspection and Access Tools
Flashlight or Headlamp
Behind appliances, inside drums, under refrigerators — these are dark, awkward spaces. A headlamp is better than a flashlight because it keeps your hands free. A rechargeable LED model with adjustable brightness is ideal for appliance work.
Recommended: Black Diamond Spot Headlamp (View on Amazon)
Inspection Camera (Endoscope)
For harder-to-reach problems — a clog deep in a dishwasher drain hose, a broken wire behind a dryer drum, or debris inside a washing machine door seal — a flexible inspection camera lets you see without disassembling anything first.
Modern USB or Wi-Fi endoscopes connect to your phone and are surprisingly affordable. They’re especially useful for diagnosing before committing to a full teardown.
Recommended: DEPSTECH Wireless Endoscope (View on Amazon)
5. Gas Appliance Tools
If your home has gas appliances — a range, oven, dryer, or water heater — there are a few additional tools worth keeping on hand.
Important: Always prioritize safety with gas. If you smell gas, evacuate and call your utility provider. These tools are for diagnosis once safety is confirmed.
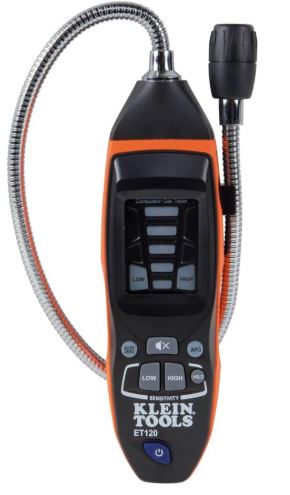
Gas Leak Detector
A combustible gas detector can detect methane and propane at concentrations far below what your nose can reliably pick up. Run it along gas line connections if you suspect even a slow leak.
Recommended: Klein Tools ET120 Gas Leak Detector (View on Amazon)
Manometer / Gas Pressure Gauge
Low gas pressure is a common cause of weak burner output on ranges and water heaters. A manometer measures gas pressure at the appliance connection and helps you confirm whether the issue is upstream (supply) or within the appliance itself.
6. Diagnostic Apps and Reference Tools
Physical tools only tell part of the story. Modern appliances communicate fault codes through display panels or LED blink sequences — and interpreting those codes requires good reference material.
Most major manufacturers (LG, Samsung, Whirlpool, GE) have free diagnostic apps or web-based troubleshooting portals. Universal appliance repair tools like Repair Clinic and PartSelect have free error code libraries searchable by model number. Bookmark these before you need them — they can cut diagnosis time in half.
Tools to Troubleshoot Home Appliances Comparison by Appliance Type
Not every tool is needed for every appliance. Here’s a practical guide to which tools matter most.
| Appliance | Must-Have Tools | Nice to Have |
|---|---|---|
| Refrigerator / Freezer | Multimeter, thermometer, flashlight | Clamp meter, endoscope |
| Washing Machine | Multimeter, voltage tester, adjustable wrench | Clamp meter, endoscope |
| Dryer (Electric) | Multimeter, voltage tester, screwdrivers | Clamp meter, headlamp |
| Dryer (Gas) | Multimeter, gas detector, screwdrivers | Manometer |
| Dishwasher | Multimeter, adjustable wrench, flashlight | Endoscope, voltage tester |
| Oven / Range (Gas) | Gas detector, multimeter, thermometer | Manometer, infrared thermometer |
| Microwave | Multimeter, voltage tester (CRITICAL) | Flashlight |
Important note on microwaves: The capacitor inside a microwave can hold a lethal charge even when unplugged. Always discharge it using a properly rated resistor before touching internal components. If you’re not comfortable with this step, leave microwave internals to a professional.
Frequently Asked Questions
Do I need all these tools before I start troubleshooting?
Not at all. A multimeter, a voltage tester, and a basic screwdriver set will handle the majority of common appliance problems. Add tools as you encounter specific situations — an endoscope or clamp meter can wait until you genuinely need one.
Are cheap multimeters safe to use?
For standard home appliance work (120V or 240V circuits), an inexpensive but CAT III–rated multimeter is perfectly safe and accurate enough. Avoid the very cheapest unbranded units with no safety rating — spend at least $20–30 for a reputable brand like AstroAI, Klein, or Etekcity.
Can I use the same tools for HVAC troubleshooting?
Many of them, yes. Multimeters, clamp meters, voltage testers, and thermometers all apply directly to HVAC systems. You’d add a few HVAC-specific tools (refrigerant gauges, combustion analyzers) for deeper work, but the overlap is significant.
What’s the most common appliance repair a DIYer can handle?
Replacing a dryer heating element, a refrigerator door gasket, a dishwasher pump, or a washing machine lid switch are all within reach of someone with a multimeter and basic hand tools — and can save you $100–300 in service call fees per repair.
Is it ever better to call a professional?
Yes, absolutely. Gas line work beyond basic fitting connections, refrigerant handling (which requires EPA certification), anything involving the high-voltage capacitor in a microwave, and any repair where you’re genuinely unsure — these are all situations where calling a licensed technician is the right call. Safety first, always.
Conclusion on Tools to Troubleshoot Home Appliances
Building a home appliance troubleshooting toolkit doesn’t require a massive investment. Start with the essentials — a multimeter, a non-contact voltage tester, an appliance thermometer, and a solid set of screwdrivers — and you’ll be equipped to diagnose the vast majority of common appliance problems.
Add tools as your confidence grows and as specific situations arise. An inspection camera, a clamp meter, or a gas detector each earn their place once you’ve encountered the scenario they solve.
The payoff is real: with a few hours of learning and the right equipment, you can handle repairs that would otherwise cost $150–400 in labor fees — and you’ll understand your home better in the process.
Ready to get started? Explore the recommended tools on Amazon and start building your kit today.

Hi, I’m Barlgan! I created Repair Me Yourself to empower homeowners to tackle appliance repairs with confidence. From decoding error codes to fixing cooling issues, I break down complex repairs into simple, actionable steps that save you time and money.