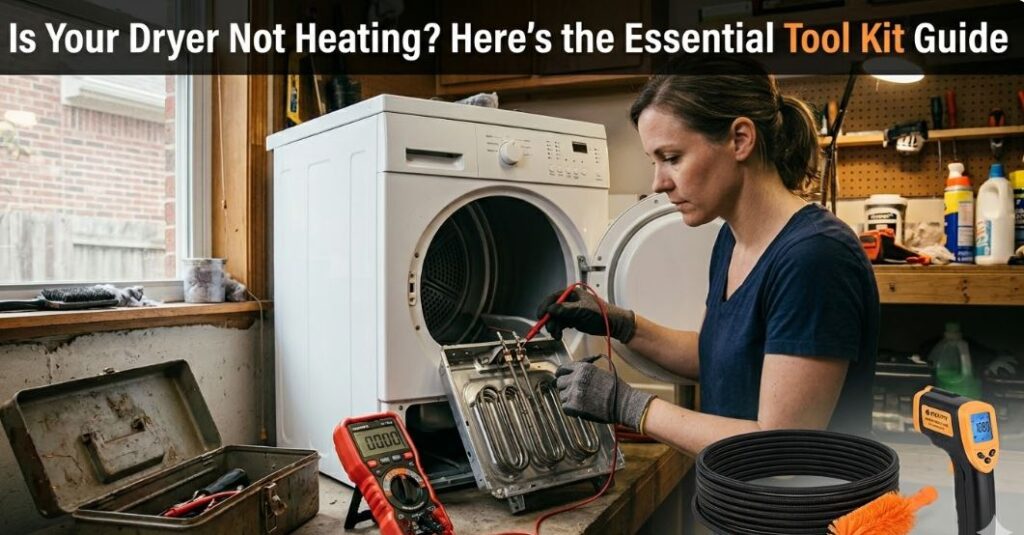
You run a full cycle, hear the familiar tumble of the drum, and pull out clothes that are still damp and ice-cold. The timer ran, the lights are on, and nothing looks obviously broken—but there is zero heat. A dryer that runs without heating is one of the most common appliance failures in the modern home. Unlike a shattered washer drum or a leaking dishwasher, a “no-heat” dryer is almost always diagnosable and fixable by a homeowner without a $200 service call.
The reason this repair is so approachable is that the heating system in a dryer is relatively mechanical and straightforward. Electric dryers rely on a heating element, a thermal fuse, and a set of thermostats. Gas dryers use a gas valve assembly and igniter but share the same thermal fuse and thermostat architecture.
In both cases, a blocked vent is the underlying cause more often than an actual component failure. Catching a clog first saves you from replacing parts that didn’t need replacing. This guide walks through the full diagnostic process: confirming the heat problem, clearing the root cause, and testing every component that controls heating in the correct order.
Quick-Reference Diagnostic Tool Kit
Before you start taking panels off, ensure you have the right gear. These three tools are available on Amazon and pay for themselves in a single use by avoiding professional labor fees.
| Tool | Role in Diagnosis | Approx. Price |
|---|---|---|
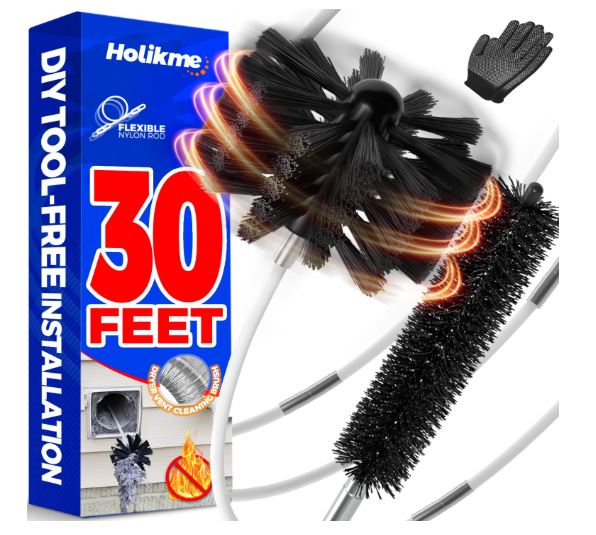
| Holikme 30 Feet Dryer Vent Cleaner Kit | Clears vent blockages—the root cause of most fuse failures | $10–$18 |
| Etekcity Lasergrip 1080 Infrared Thermometer | Non-contact confirmation of heat output and vent airflow | $16–$25 |
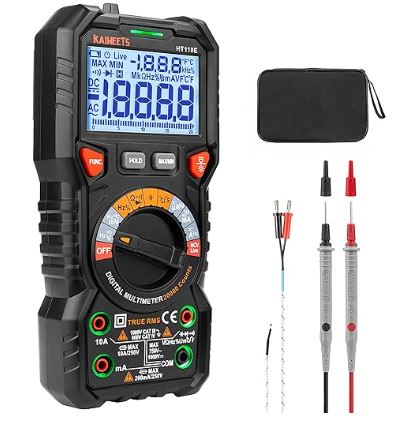
| KAIWEETS HT118A Digital Multimeter | Tests thermal fuse, heating element, and thermostats | $30–$45 |
Why Dryers Stop Heating: The Science of the “Safety Chain”
Before reaching for any tools, it helps to understand the chain of components involved in dryer heating. Think of it as a series of gates. For the dryer to get hot, every gate must be open. If even one gate is closed (failed), the heat stops.
1. The Control Board or Timer
Every cycle starts here. The control board signals the heating circuit to activate. In an electric dryer, that means closing the circuit to send 240V to the element. In a gas dryer, it means energizing the gas valve solenoids.
2. The Thermal Fuse
This is the most critical safety device. It is a one-time-use fuse designed to blow permanently if the dryer cabinet gets too hot. Its job is to prevent a house fire. If it blows, the dryer will still spin, but the “gate” to the heater is permanently locked until the fuse is replaced.
3. The Thermostats
Dryers typically have a cycling thermostat (which turns the heat on and off to maintain a specific temp) and a high-limit thermostat (which cuts the heat if things get dangerously hot but haven’t reached “fuse-blowing” levels yet).
4. The Heat Source
In an electric dryer, this is a heating element—essentially a giant version of the wire inside a toaster. In a gas dryer, it’s a burner assembly consisting of an igniter, a flame sensor, and gas coils.
| Cause | Fuel Type | DIY Diagnosable? | Typical Part Cost |
|---|---|---|---|
| Clogged Dryer Vent | Both | Yes | $0 (Cleaning) |
| Blown Thermal Fuse | Both | Yes | $5–$15 |
| Failed Heating Element | Electric | Yes | $20–$80 |
| Failed Cycling Thermostat | Both | Yes | $10–$30 |
| Failed Gas Valve Solenoids | Gas | Yes | $15–$45 |
| Failed Door Switch | Both | Yes | $10–$20 |
Step 1 — Clear the Dryer Vent (The “Hidden” Culprit)
A clogged dryer vent is the single most important thing to check, and it should always come before any component testing. Why? Because the thermal fuse is triggered by heat, not electrical failure. When lint accumulates in the vent, exhaust air can’t escape. Heat builds up inside the dryer cabinet, and the thermal fuse blows to prevent a fire.
FEMA estimates that clogged dryer vents cause approximately 2,900 house fires annually in the United States. Clearing the vent is not just a diagnostic step—it is a safety action that should happen at least once a year.
The Tool: The Holikme 30 Feet Dryer Vent Cleaner Kit (View on Amazon) is the industry standard for DIYers. It uses flexible nylon rods that interlock and extend to 30 feet—enough to reach the full length of most residential vent runs. The included brush head dislodges lint, and the drill attachment lets you spin the assembly to scrub the duct walls.
The Process:
- Disconnect the flexible vent hose from the back of the dryer.
- Feed the rod and brush from the wall opening, working it back and forth.
- Use a vacuum at the entrance to catch the “lint snakes” as they emerge.
- Check the exterior vent flap outside your house to ensure it opens freely.
Step 2 — Confirm Heat Output with Precision
Once the vent is clear, you need to know if the dryer is producing any heat at all. Sometimes a dryer produces “weak” heat that isn’t enough to dry clothes, which points to a different failure than a “no-heat” situation.
The Tool: The Etekcity Lasergrip 1080 Infrared Thermometer (View on Amazon) is a non-contact temperature gun. It allows you to see what is happening inside the dryer without opening the cabinet.
The Process:
- Run the dryer on a high-heat setting for five minutes.
- Point the Lasergrip at the exterior vent outlet (where the air exits the house).
- A working dryer should exhaust air between 120°F and 160°F.
- If the reading is within 10 degrees of the outside air temperature, your heating circuit is dead.
- Pro Tip: You can also point the thermometer at the dryer’s back panel near the heating element housing. If that area stays cool to the touch after 10 minutes of running, the element isn’t firing.
Step 3 — Electrical Component Testing
If the vent is clear and the thermometer shows no heat, the fault is an electrical component. This is where the KAIWEETS HT118A Digital Multimeter (View on Amazon) becomes your best friend. This tool allows you to check for “continuity”—essentially asking the part, “Are you broken inside?”
Testing the Thermal Fuse
The thermal fuse is usually a small white or silver rectangle on the blower housing.
- The Test: Unplug the dryer. Remove the wires from the fuse. Set your multimeter to the Continuity setting (the sound wave icon). Touch the probes to the two terminals.
- The Result: If it “beeps,” the fuse is good. If it stays silent, the fuse is blown and must be replaced.
Testing the Heating Element (Electric Only)
The element is a coil of wire inside a metal box.
- The Test: Set your multimeter to Resistance ($\Omega$).
- The Result: A working element should show between 15 and 50 ohms. If the screen reads “OL” (Open Loop), the coil is snapped and the element is dead.
Testing the Gas Valve Solenoids (Gas Only)
If you have a gas dryer and the igniter glows but no flame starts, the coils (solenoids) are failing.
- The Test: Check for resistance across the terminals of the coils.
- The Result: If any coil shows “OL,” the set must be replaced.
Frequently Asked Questions
Why did my thermal fuse blow even though my vent looks clean?
It is a common misconception that a “clean-looking” vent flap on the outside of the house means the duct is clear. Lint often builds up at the 90-degree elbows or where the flexible foil transition duct connects to the rigid wall pipe. Furthermore, if you use dryer sheets, a waxy film can build up on the lint screen inside the dryer, restricting airflow just as badly as a clogged pipe. Always wash your lint screen with soap and water every few months to remove this invisible film.
Can I bypass the thermal fuse just to finish one load of laundry?
Absolutely not. This is an extreme fire hazard. The thermal fuse is a safety “weak point” designed to fail so that your house doesn’t burn down. Bypassing it with a jumper wire removes the only thing stopping a lint clog from turning into a structural fire. Fuses are inexpensive (often under $10); the risk of a bypass is never worth it.
My dryer gets hot, but the clothes are still damp. What gives?
If the Etekcity Lasergrip confirms the dryer is reaching $150°F$, but the clothes won’t dry, the problem is almost always airflow, not heat. This means the moist air isn’t being exhausted. Check for a crushed vent hose behind the dryer or a heavy buildup of lint inside the internal blower wheel. If the air can’t move, the moisture stays in the drum with the clothes.
Do I need to replace all the thermostats if only the fuse is blown?
While not strictly necessary, many professionals recommend it. Thermostats are subject to “wear” from thousands of heating cycles. If your thermal fuse blew because the cycling thermostat stayed “on” too long, replacing just the fuse will result in another failure soon. Many Amazon sellers offer “Dryer Repair Kits” that include the fuse and all thermostats for about $20. It is often smarter to “refresh” the whole system while you have the dryer open.
How do I know if it’s the motor or the heating element?
If the dryer drum is spinning, your motor is functioning. In almost all modern dryers, the motor must be running for the heat to turn on (via a centrifugal switch). If the dryer won’t even start or spin, the problem is likely the door switch, the start switch, or the motor itself. If it spins perfectly but stays cold, focus exclusively on the heating circuit components mentioned in this guide.
Relevant:
- How to Fix a Maytag Bravos Dryer That’s Not Heating
- Why Your Whirlpool Duet Dryer Won’t Heat Up and Its Fix
Take Control of Your Non-Heating Dryer Repairs
A dryer that won’t heat is not a death sentence for the machine. By using a Holikme Vent Kit to clear the path, an Etekcity IR Thermometer to verify the symptoms, and a KAIWEETS Multimeter to pin down the failed part, you can solve 90% of dryer issues for less than $70 in tools and parts combined.
The best part? These tools aren’t “single-use.” The vent kit keeps your home safe every year, the thermometer is great for checking home insulation or cooking, and the multimeter is essential for any electrical DIY around the house.

Hi, I’m Barlgan! I created Repair Me Yourself to empower homeowners to tackle appliance repairs with confidence. From decoding error codes to fixing cooling issues, I break down complex repairs into simple, actionable steps that save you time and money.