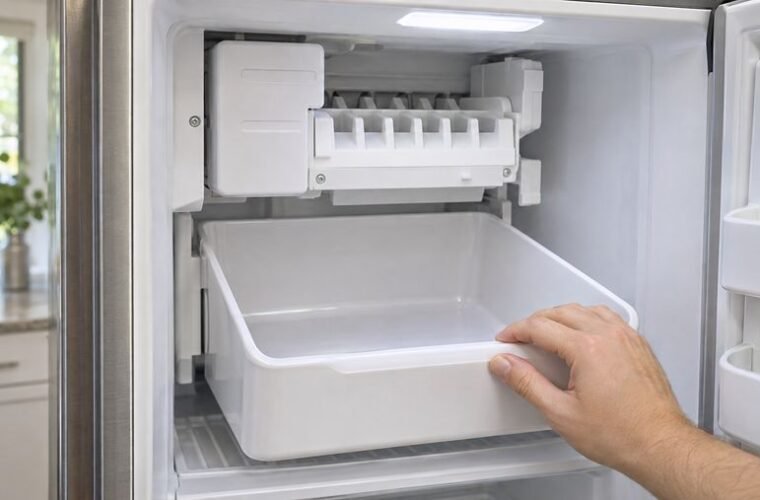
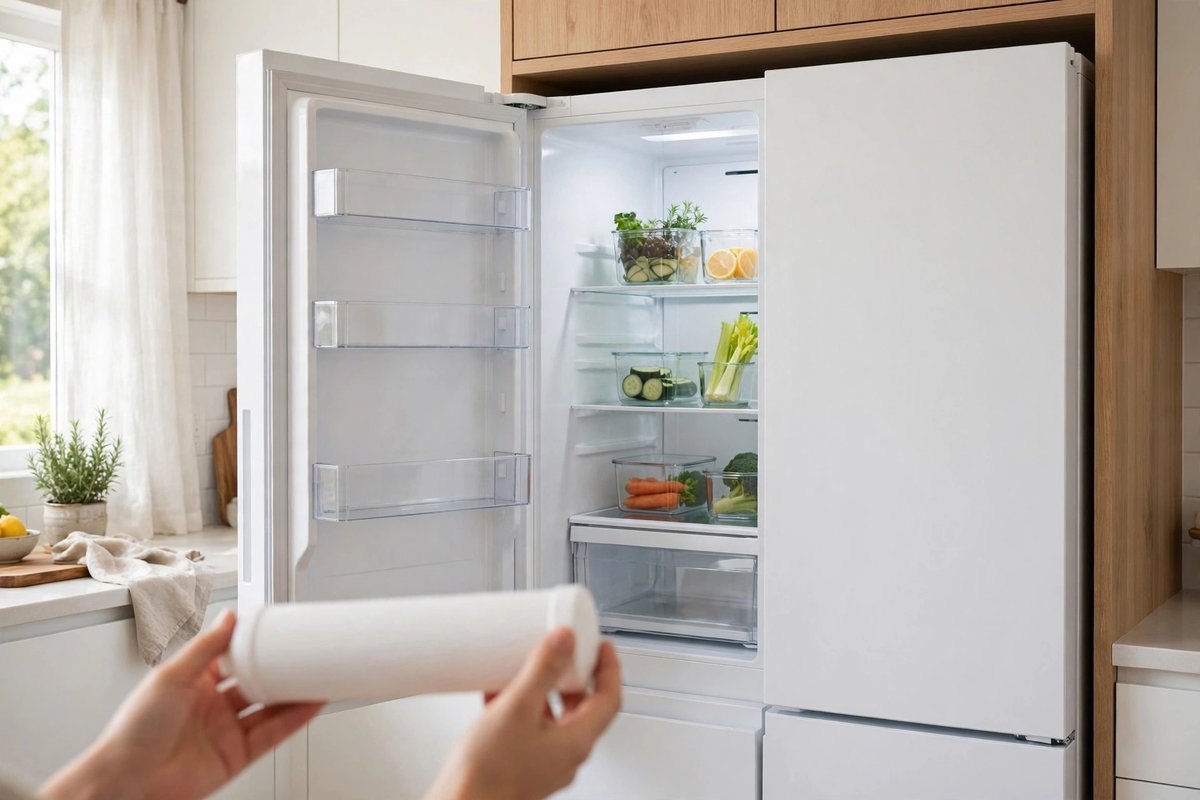
The short answer on how to change Whirlpool refrigerator water filter cartridges: read the number printed on the old filter, release it with the motion for that type, seat the new one with the arrow facing the right way, run four gallons through the line, and reset the light. Whirlpool says to swap it about every six months.
The hard part is that Whirlpool sells four filter styles, and each one comes out differently. I’ve spent more than 10 years in other people’s kitchens, mostly on Whirlpool-family fridges. Forcing the wrong motion is easy to do and hard to undo.
Find your type: how to change Whirlpool refrigerator water filter by number
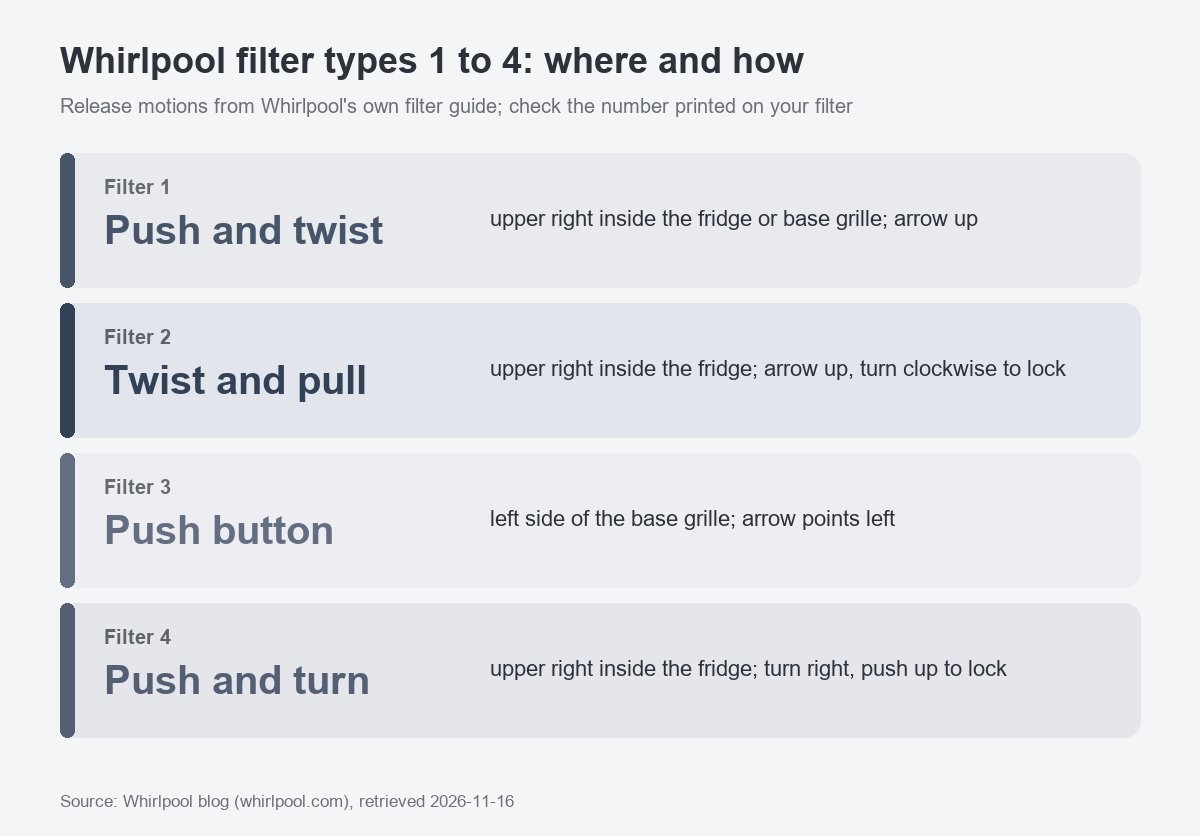
Read the number on your old filter first. Whirlpool’s own guide sorts the four types by that number, and you’ll follow only the section for yours.
Then find where it sits. Filter 1 is in the upper right inside the fridge or behind the base grille. Filter 2 and Filter 4 are both in the upper right inside the fridge. Filter 3 is on the left side of the base grille.
Can’t read the number? Find your fridge’s model number instead. Whirlpool’s Product Help site shows where the model tag lives. While you have the tag in view, our appliance recall lookup will tell you if a CPSC recall covers your fridge.
If your filter doesn’t match any of those four descriptions, stop. Follow the owner’s manual for your model. Whirlpool’s guide only covers these four types.
Hold your new filter next to the old one before you twist anything. Same number, same shape.
Filter 1: push and twist
Filter 1 pushes in and twists out, and it needs no tools. Whirlpool puts it either in the upper right corner of the fridge or in the base grille, depending on the model.
- Find the cover and lift the filter door.
- Twist the old filter out and pull it free.
- Peel the protective coverings off the O-rings on the new filter. Make sure the O-rings are in place.
- Insert the filter with the arrow pointing up. Don’t force it. Rotate it until the notches match the grooves.
- Push the door closed until it snaps.
Whirlpool calls out the O-rings for a reason. A worn or missing O-ring is one of the most frequent causes of leaks.
Filter 2: twist and pull
Filter 2 sits in the upper right inside the fridge and releases with a twist and a pull.
- Pull the filter door open.
- Angle the old filter down, turn it left, and pull it out.
- Remove the O-ring coverings from the new filter.
- Point the arrow up and push the filter in. It starts to rotate as it goes.
- Turn it clockwise until it locks. If it won’t turn, pull it back out and line it up again.
- Close the door.
Don’t muscle it. Whirlpool warns that forcing or over-tightening can distort the seal and cause a leak.
Filter 3: the push-button filter in the base grille
Filter 3 is typically on the left side of the base grille, and a push button releases it.
- Find the cover on the left of the base grille.
- Push the eject button and pull the old filter out.
- Remove the O-ring coverings from the new filter.
- Put the filter cap on the new cartridge. Line up the ridges and turn the cap clockwise to lock it.
- Insert the filter with the arrow pointing left.
- Push it in until the eject button pops back out.
If the old filter is stuck, push the filter in, then press and hold the button. Still stuck? Unplug the fridge, take off the bottom grille, and press again.
Filter 4: push and turn, and the cap that blocks a first install
Filter 4 sits in the upper right inside the fridge, and you push and turn it. Its trap is a cap that Whirlpool says sits in the slot on a first-time installation.
- If the tab faces outward, push it and pull the cover down. If the tab is on the bottom of the cover, pull forward and down on the small lever.
- Turn the old filter left and pull it out.
- On a first install, turn the cap in the slot counterclockwise and pull it out.
- Line up the grooves, push the new filter in, and turn it right.
- Push up on the filter to lock it.
- Push the door up until it snaps closed.
That cap catches people. A Reddit user whose Whirlpool filter wouldn’t slide in confirmed the leftover cap was the fix:
“Yep. That was the problem and the fix. I aware that cap should have a label on it telling you to remove/discard kind of like how frozen pizzas tell you to remove the plastic wrap and the cardboard disk before you put them in the oven LOL”
– r/appliancerepair (11 upvotes)
Whirlpool lists the cap under first-time installation, so a fridge that has held a filter before shouldn’t have one. If your new filter stops short, look in the slot before you push harder.
Flush, then check for drips
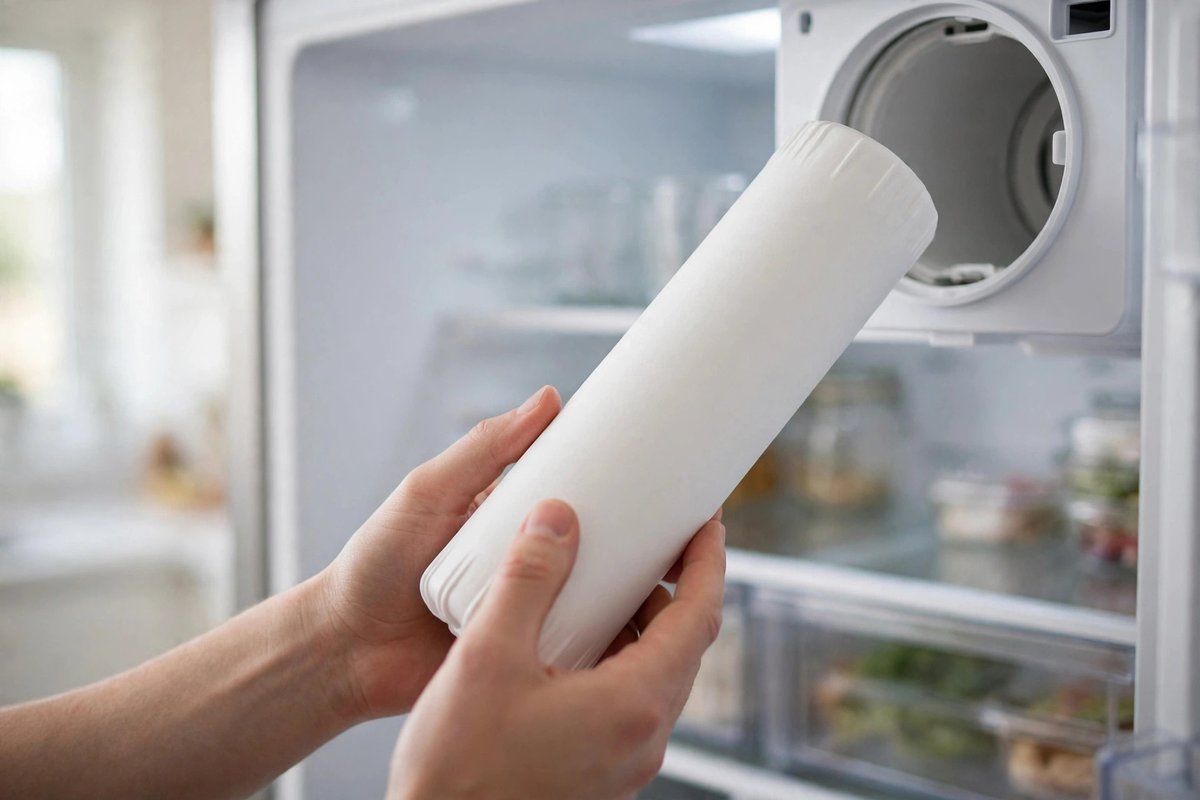
Run four gallons of water through the dispenser after every swap. Whirlpool says this clears trapped air and carbon dust from the new filter.
Air is why a fresh filter can leave the dispenser dry at first. A Reddit user told someone in that spot to keep the water running:
“you gotta run it for a minute or 2 to get the air out of the filter. I have the same fridge”
– r/appliancerepair (9 upvotes)
Now look at your filter housing and the dispenser area for drips. Whirlpool ties a drip to a filter that isn’t fully locked or an O-ring that’s worn. Wipe the area dry so you can spot a new drip.
You usually don’t need to shut off the water supply for the swap. Whirlpool still says to confirm that in your owner’s manual. If a leak shows up anyway, our guide to a fridge leaking water from the bottom covers where to look next.
Reset the light and know when to swap
If your model has a filter light, press and hold its reset button for a few seconds until the fridge beeps or chirps. The button’s spot depends on the model.
On French door models it’s often on a control panel on the interior ceiling. On side-by-side models it’s often on the dispenser control panel. If nothing beeps for you, the owner’s manual for your model has the exact steps.
Plan on a new filter about every six months, per Whirlpool. Slow water flow, cloudy or off-tasting water, and a red light all say your filter is overdue.
When it will not seat or the water stops
Most failures after a swap come down to three causes: poor alignment, a cap left in the slot on a first install, or air trapped in the line. Work through them in that order before you blame the housing.
- The filter won’t go in: pull it back out and line up the notches and grooves again. On a first install, look for the cap.
- It won’t lock: don’t force it. Pull it out and start the motion over.
- No water after the swap: run the dispenser longer to clear air.
- Water seeps around the housing: confirm the filter is fully locked and the O-rings are in place.
If the flow stays weak after a full flush, the water path is the next suspect. Our slow Frigidaire dispenser guide is a useful next stop for that side of the problem.
Stop and call a pro if the housing is cracked, water keeps leaking after you’ve re-seated the filter, or the fridge won’t hold a filter in place.